Showing posts with label baking. Show all posts

Monday, April 9, 2012

365 Daily Creativity Journal: Weeks 12 & 13

Hi All!  Did you have a good Easter weekend?  I hope so!  Here are a few of the things I have done in the last few weeks.

Day 81- Use an eraser.  I made my eraser stamp.  Have you entered the giveaway for one of these bags yet?  Only two days left!


Day 86- Make a pretty frosted thing. I made cake batter truffles.  Not exactly frosted but sweet anyway.


Wednesday, April 4, 2012

Birthday Party Recap

My birthday was a week ago and we celebrated with a party on Saturday night.  Some friends were kind enough to host it and it was a wonderful night.  We started with both cheese and chocolate fondue.  And yes, we had way too much food.


To top it off, my sweetie of a husband made me a TARDIS birthday cake.  He always makes me fun shaped cakes and this year he was inspired by my Doctor Who obsession.  It's a little droopy on the edge, but that's just one of the hazards of time travel.


Here is a picture of Eugene and I together.  You can see my new bangs and awesome bird shirt.


One of my friends gave me this beautiful vase as a gift.  I love it!  I added some fake grass from Michaels and put it in the front entry way.


I like the way it contrasts with my scarf tablecloth.  Now the only question is how long I can keep it there before the cat starts chewing on the grass and I have to move it.


How was your weekend?  Did you do anything fun?

Saturday, February 4, 2012

Football Cake Pops

The saga of the cake pops continues.  This time, I got fancy and made some to look like footballs.  They are blobby footballs, but still footballs.  I hope they make the perfect treat for the Superbowl tomorrow.

To make these, I shaped the cake into a ball like normal but then pinched the ends to give them a more football-like shape.  (For instructions on how to make cake pops, see this post).


In order to not get a chocolate foot, my husband rigged up a cardboard drying stand.  Basically, it's a skinny cardboard box with holes punched in it.  This allowed the pops to dry standing up and helped retain the cake shape.  Most of them held up, some did not.


Finally, I used icing to draw lines on the footballs.  This particular icing suggested heating it in the microwave.  I suggest not doing this; it made it way too runny and I had to wait for it to cool off.


That's it!  I made red velvet cake this time and used cream cheese frosting.  Yum!


Thursday, January 26, 2012

Cake Pops Revisited

In my quest to make the perfect cake pop, it's necessary that I make them all the time for every occasion possible (and of course I have to eat several from each batch).  Last time, I had lots of problems with the chocolate.  To correct this, this time I used candy melts rather than baker's chocolate.


I found this MUCH easier to work with.  I also rigged up a double boiler to melt the chocolate more slowly and I think this also made a big difference.  The chocolate was much smoother and I had no problems with burning. [ I realize I just referred to the candy melts as chocolate.  They're not really; I used vanilla flavored melts]


I still would like to find a way to get less of a chocolate foot on the bottom, but overall I think these turned out prettier and more consistent than before.


Sunday, January 15, 2012

Chocolate Covered Strawberry Cake Pops: Take 2

Remember my cake pop failure from a few days ago?  I didn't let it defeat me and I managed to successfully make my cake pops.  Yay!!  Since several people asked me questions about how to actually make cake pops, I'm going to share the whole process in detail.  I'm still perfecting the process myself, but this will give you a good starting place.

First, bake a cake.  I made a strawberrry cake using a recipe from a friend, but you can make any flavor you want.  You're going to crumble the cake up in the next step, so it really doesn't matter what pan you bake it in.  For this size cake (which is about the size of one box of cake mix), I was able to make about 40 cake pops. 


Now, the crumbling part.  Just dig in with your hands.  You will get messy.  Just keep breaking it up until it is a consistent mix of small crumbs.  Sometimes the edges are a bit harder than the rest of the cake and won't crumble well.  I suggest eating those.


Now, add frosting.  I used strawberry frosting that I made myself but store-bought is fine.  When I have done this before, I found that one box of cake mix needed about 2/3 a can of frosting.  Now, HERE IS THE IMPORTANT PART.  Add the frosting a little at a time and mix thoroughly before adding more.  The mistake I made the other day was adding in all my frosting at once.  It ended up way to moist and sweet.


Keep mixing and adding frosting until you get a nice, mold-able consistency.   My way of testing this is to just pick some up and see how easy it is to form it into a ball. 


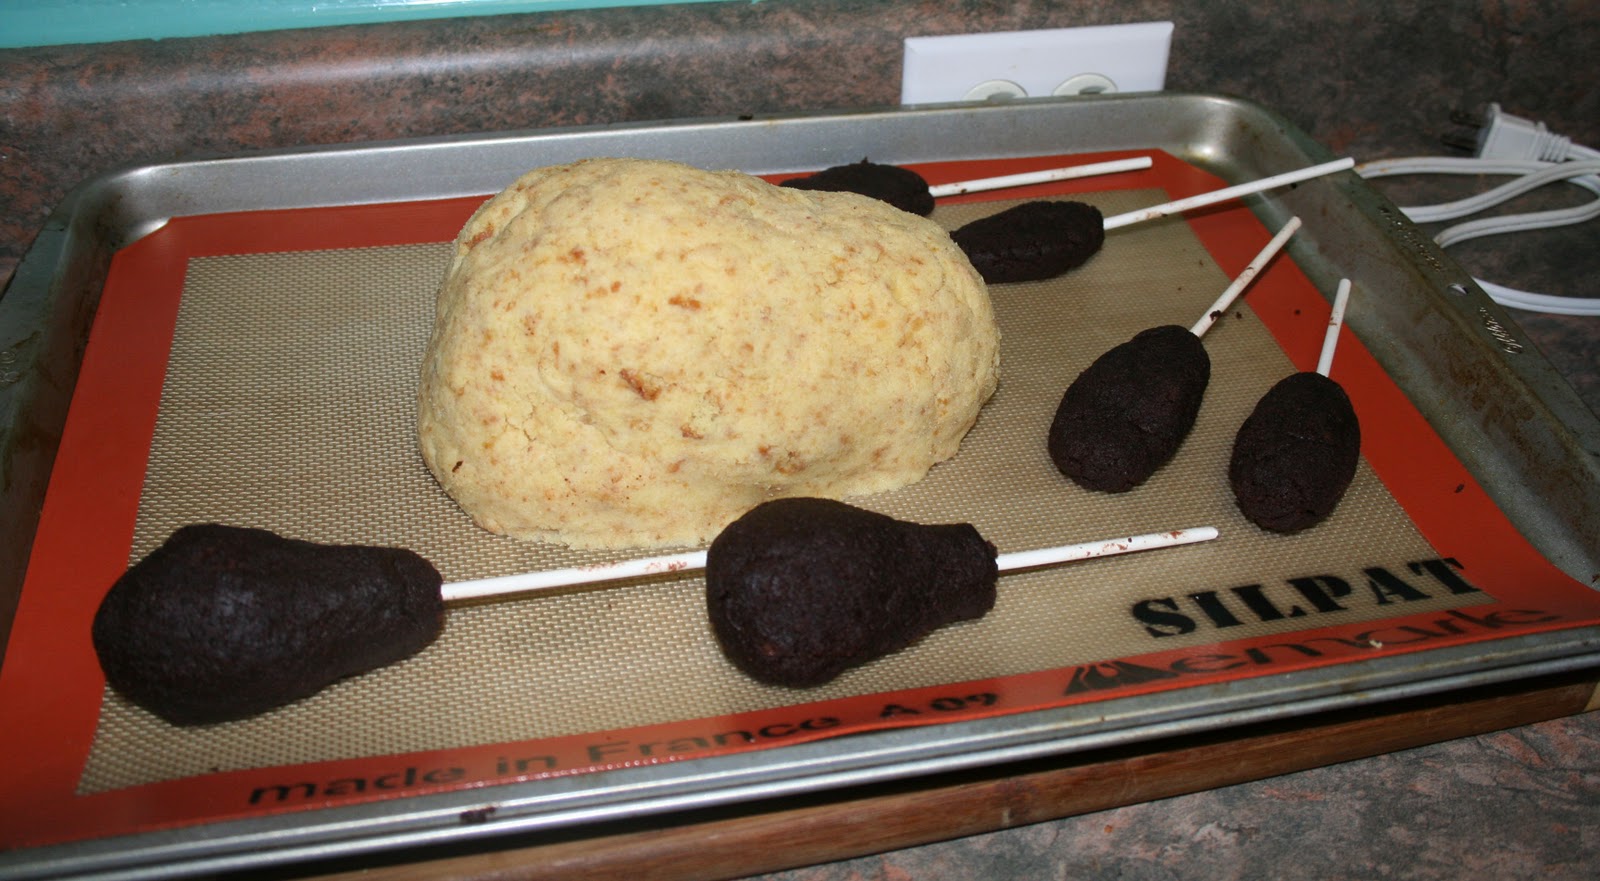
Now shape your cake balls.  Grab some of your cake/frosting dough and roll it into a ball.  You have to be a little gentle with it so just work it slowly till you get your shape.  Now stick a stick in the middle.  Once I finished all of them, I stuck them in the fridge for awhile to harden up a bit more.


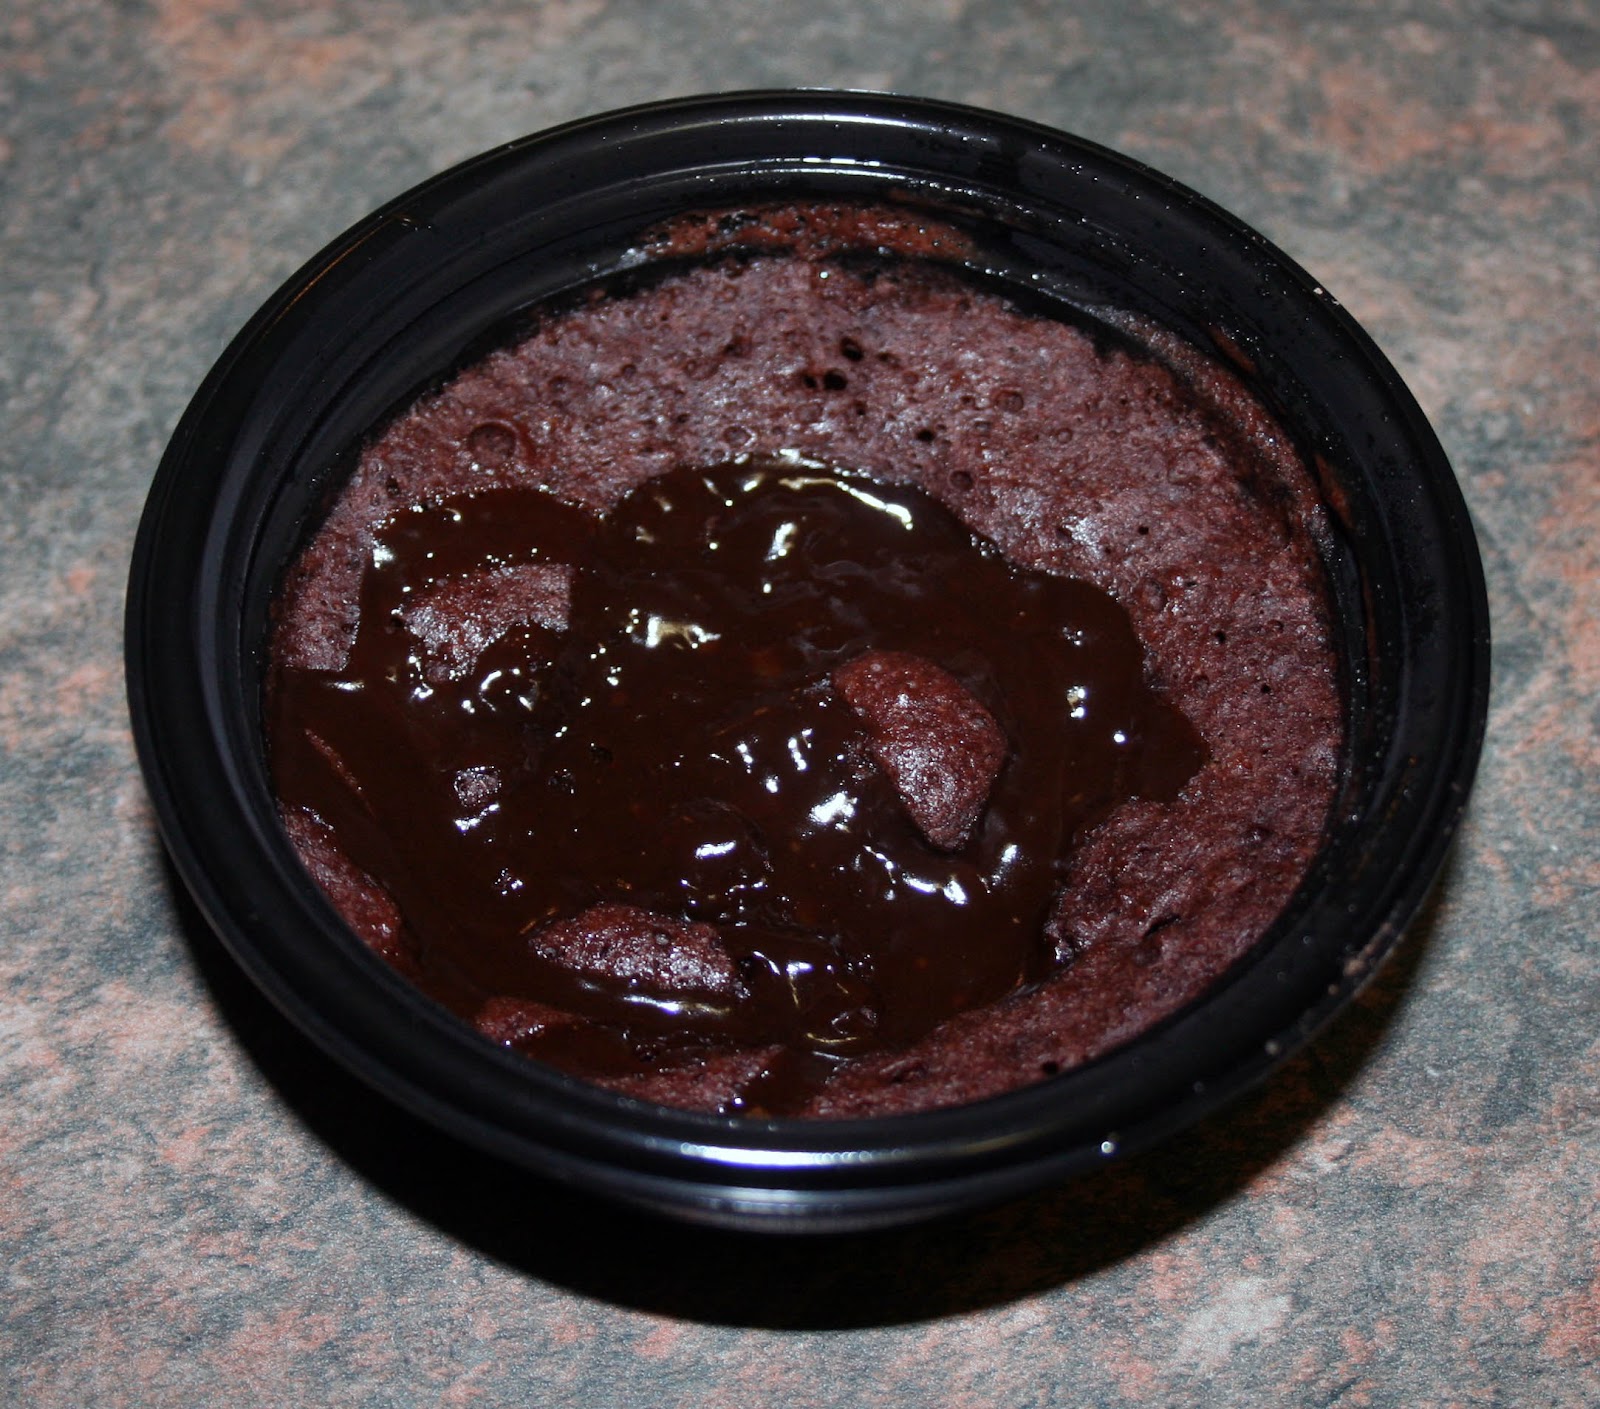
The next step is melting your chocolate.  I used baker's chocolate and melted it in a mug in the microwave.  This was convenient but I also had some problems with chocolate burning even when I followed the melting instructions.  So be careful and go slow.  I spent some time scooping out lumps of burnt chocolate.  Not fun.


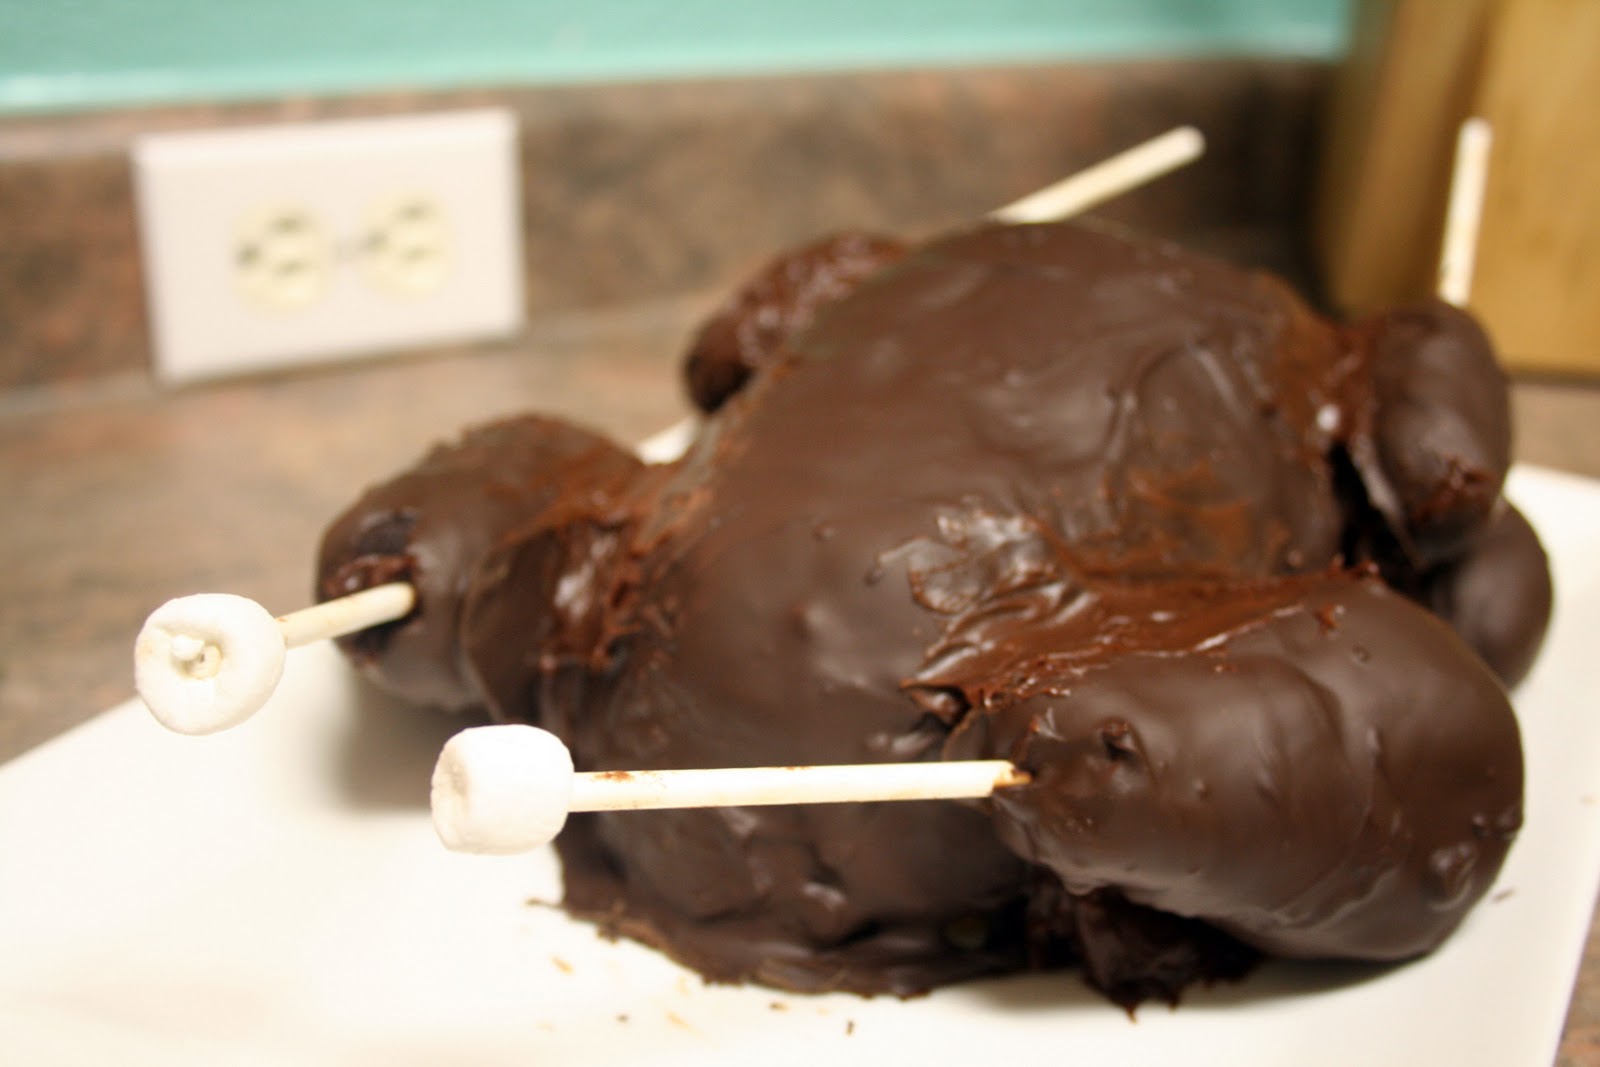
Now start dipping your cake pops.  I find this to be the hardest step.  The cake really wants to slide off of the sticks.  I found it easiest to tilt the mug to the side and dip the cake pop in the entire way.  I started by going slowly and trying to turn the cake pop around near the surface, but I had a lot more sliding problems.  Once I started dunking in and out quickly, it worked much better.  Set each pop on parchment paper to dry.


I got crazy and added sprinkles.  I also did some in white chocolate.  I recommend setting your pops inside of a pan if you are going to sprinkle.  I didn't do this with the first set and got sprinkles everywhere.


That's it!  They harden faster in the refrigerator and I have always stored mine in there as well.  I'm still working on perfecting the look of mine; they are a bit blobby :)  But they tasted good!


I hope that overview helped!  And if you have any tips for me, I'd love to hear them.  I'm still struggling with getting a really "tidy" look to them :)

Friday, January 13, 2012

Cake Pop Learning Experience

I was really excited to make some chocolate-covered strawberry cake pops.  However, I wasn't thinking and put all the cake directly into my icing bowl rather than adding icing in slowly.  The result?  A soggy mess.  Too sweet and too wet to be a good cake pop.  I'm disappointed, but I will use this as a learning experience.  I will try again this weekend and show you the (hopefully) awesome results.


What learning experiences have you had while baking or crafting?

Friday, January 6, 2012

Easy Brownie Sundae

This isn't really a recipe, it's just a super simple way to fake a warm brownie sundae when you have a serious dessert craving.  All you need is a Betty Crocker Warm Delights Mini and some ice cream. 


Make the cake as directed on the box.  It takes about 30 sec to heat in the microwave and then you let it cool.


Scoop it into a bowl.  It will not come out pretty but who cares?  You're about to eat it.


Now scoop some ice cream on top.  DONE!  I used coffee ice cream but definitely follow your heart.  You could even go nuts with some whipped cream or well, nuts.


Friday, December 16, 2011

Chocolate Mug Cake

Last night I got a craving for chocolate cake and decided to try making one of those mug cakes.  I used this recipe from Instructables.

Image from Instructables Page

Overall, good for a cake baked in a mug.  I didn't have any chocolate chips so I scooped some Nutella on top.  The inside was a little dry so I can see how some chocolate chips mixed in would have been tasty.

Has anyone else ever made one of these?  What recipes have you liked?

Thursday, November 24, 2011

IC#47 Part Two: A Chocolate Turkey

As I mentioned yesterday, my Iron Craft Project was not complete yet.  We worked long into the night, but it is now complete.  I present you with a giant cake pop turkey.


The idea went something like this. "We should make cake pops." "We should make them for Thanksgiving." "Let's make a giant cake pop shaped like a turkey."  Conclusion: my husband and I are weird.

This was our first time making cake pops, but I knew the basic concept.  We started by baking two different cakes, chocolate and vanilla (for dark and light meat).


Next, we dived in and started crumbling the cake up.  I went straight in with my hands.  Once it was crumbled, I added in about 2/3 a can of frosting and worked it into a nice dough.


For the body of the turkey, I just took the entire blob of vanilla and molded it into a turkey shape.  For the drumsticks and wings, I molded smaller shapes and stuck sticks in them.  It was a little weird putting sticks in the wings but it will make it slightly easier to eat.


Now it was time for chocolate.  We used bakers chocolate.  I've heard people mention using those candy melts as well, but I don't have the experience to compare.  For the drumsticks and wings, I was able to dip it in and roll around.  Since the appendages were pretty heavy, I used a spoon to help pour chocolate over and cover it.


For the body, I just poured a bowl of melted chocolate over the top and used a spoon to help spread it around.  Be sure to do this on a non-stick surface and not your final serving platter.  The chocolate really pools at the bottom so later you will trim the excess and move it.


Once the chocolate has set (the fridge really speeds this up), you are ready to assemble your turkey.  To move the body, find a partner.  My husband lifter the entire silpat we were using and slowly peeled one edge down.  I then put a spatula under that end and we slowly moved it onto the plate. We were out of chocolate so I used frosting to attach the limbs.  Just blob a bunch on there and press the pieces on.  I recommend using a utensil to push them on because your fingers will melt into the chocolate.


To finish, we cleaned up the edges where the frosting was and added little marshmallows to the ends of the drumsticks.  Done!


Wednesday, November 23, 2011

IC#47-A Sneak Preview

Our Iron Craft Challenge for this week was to make something for the table.  I'm making something to serve at Thanksgiving and didn't want to make it until this afternoon.  Therefore, you'll just have to wait awhile to see the end result.  For now, a little photo preview.


Friday, October 7, 2011

Pumpkin Cake

This week it was our turn to bring snacks to bible study.  I decided to take a simple route and try out this recipe for pumpkin cake.  I already had a box of cake mix and some canned pumpkin.  I had used a little of both for other things, but I decided to go with it anyway.


On the top, I created a pumpkin stencil and dusted it with powdered sugar and cocoa.  At first, I made a parchment paper stencil and was going to just use powdered sugar.  But this stencil proved too flimsy and the edges turned up mid-sprinkle.  After consulting my husband for advice, I ended up covering the whole thing with powdered sugar, cutting a new stencil out of cardboard, and then dusting with cocoa powder.  Much better.


The cake was delicious.  Moist and tasty.  It was all gone by the end of the night so I think it was a big hit.

Sunday, September 11, 2011

Pumpkin Fever

I got a fever and the only prescription is...pumpkin baked goods.  I have to say, I'm a sucker for a pumpkin spice latte and a slice of pumpkin bread from Starbucks.  I have been gathering pumpkin recipes on my pinterest fun food board and I think it's time to start baking some myself.  Here are some tasty-looking treats I've found.

This recipe for pumpkin spice latte cupcakes looks incredible.  Why am I not baking it right now?


A pumpkin gingerbread trifle.  That's like the best of both worlds.  Or all three worlds.  Does a trifle get its own world?


Here is a recipe for pumpkin pound cake.  Yum!  Are you drooling for pumpkin yet?


Pumpkin chocolate chip brownies.  Pumpkin with chocolate.  I actually don't think I have had this combo yet, but it sounds fantastic!


Alright.  Now that you have seen these recipes, your mission is to go to these sites, follow the recipes, and then send me the results.  Yum!