I recently got a free plastic water bottle as one of those thanks-for-working-with-our-company kind of gifts. It was clear and boring. I changed that.
This is a really easy project. Take your water bottle and cover it with stickers to make your design. I used small rectangles that I found in the office supply section of Fred Myer and formed a geometric, tribal design. If you are planning on blogging about it, be sure to take a poorly-lit, blurry photo.
Next, I covered the whole thing with pink spraypaint. I used a kind that was marked for use on plastic. I'm actually not sure if it matters. Anyone?
Once dry, peel off the stickers. Now consume copious amounts of water. Hooray!
Thursday, September 12, 2013
Tuesday, September 3, 2013
Desktop Photo Calendar- Tutorial and Giveaway!
Today I am going to show you how to make a simple photo calendar to keep at your desk. THEN I have a giveaway for you. Am I going to give you a calendar featuring photos of my baby? No. That would be weird. However, I will give you the chance to win your very own copy of the digital scrap-booking software I used to make it. Get excited.
I created my calendar using My Memories Suite. I started with a blank album and added a floral background and then added photos of my baby and monthly calendars for 2014. I kept it simple, but the software has lots of options for customizing with text, images, and borders.
Once I was finished, I printed the calendar out on thick card stock. You may notice that the printed copy does not look as bright as the screenshot. Turns out my printer was running out of ink. I was happy with the vintage feel of it, but probably should replace my print cartridge.
I finished by cutting out the pages and clipping them on a clipboard. This can then be hung on a wall or even propped on your desk.
Exciting, huh? I had a lot of fun using My Memories Suite software. I was given a free copy of the software to review and giveaway, so let me give you my thoughts on it.
Pros:
Now that you made it through all that, want to win your own copy? C'mon, you know you want to (peer pressure in action folks). Enter in the rafflecopter below. I'll announce a winner in two weeks.
a Rafflecopter giveaway I was given a free copy of this software to review. All opinions expressed in this post are my own.
I created my calendar using My Memories Suite. I started with a blank album and added a floral background and then added photos of my baby and monthly calendars for 2014. I kept it simple, but the software has lots of options for customizing with text, images, and borders.
Once I was finished, I printed the calendar out on thick card stock. You may notice that the printed copy does not look as bright as the screenshot. Turns out my printer was running out of ink. I was happy with the vintage feel of it, but probably should replace my print cartridge.
I finished by cutting out the pages and clipping them on a clipboard. This can then be hung on a wall or even propped on your desk.
Exciting, huh? I had a lot of fun using My Memories Suite software. I was given a free copy of the software to review and giveaway, so let me give you my thoughts on it.
Pros:
- I liked the variety of decorative elements. Since the pages mimic real scrap-booking materials, there were lots of options for mimicking real paper.
- Lots of project options. I have made a card and a calendar, as well as a basic album. There are options to create slideshows complete with music.
- Relatively easy to use. I opened the program and just started to play around. I was quickly able to figure out basic commands.
- While making the calendar, I couldn't figure out how to automatically fill in a complete 12 month calendar. I had to add in 12 pages and then manually change each page to the correct month.
- I also couldn't figure out how to print two pages on one sheet of paper. I'm not sure if this is a con or not. It could be the software but it could also be me.
Now that you made it through all that, want to win your own copy? C'mon, you know you want to (peer pressure in action folks). Enter in the rafflecopter below. I'll announce a winner in two weeks.
a Rafflecopter giveaway I was given a free copy of this software to review. All opinions expressed in this post are my own.
Labels:
Giveaways,
Home Decor,
Photography
Thursday, August 29, 2013
DIY Baby Photo Album Soft Book
Hello friends! I have a project to share today that I am really excited about. I've been planning it for months and finally got around to making it. It's a photo album for my daughter! All of our family lives far away and I wanted to help her learn who everyone is (eventually). She also really loves the soft fabric books. Family+Fabric Book= Family photo album soft book!
I used Spoonflower to create my fabric. If you don't know Spoonflower, you should check out their site. You can get custom-printed fabric. I wanted to go this route rather than printable iron-ons because I was worried about bits flaking off as she chewed on it.
I created the fabric design in photoshop and scaled it to fit a fat quarter (18"x 21"). If you need more info on how to do this, see this post. You can also just look at the picture below to see how everything was laid out. I planned it so the pages going across could fold in half (you'll see what I mean further down.)
Once I ordered my fabric, I checked the mail excitedly for awhile until it came. Yay! Then I got to work.
I started by cutting my images into three strips. I trimmed right to the edge along the top and bottom but left the side edges as they were.
Next, I folded each page in half with the right-sides together. I ironed the fold to hold it in place and then serged the other edge. NOTE: Be careful about this. I wasn't thinking about where my stitches were going to end up and I sewed too far in. It didn't really hurt the project, but when I turned it inside out, the pages on that side were slightly smaller than the other side.
Next, I cut out pieces of fusible fleece that were slightly smaller than the pages. By leaving a gap in the middle of each page spread, I was hoping to reduce bulk at the spine and make the pages easier to turn. I ironed these onto the wrong sides of the pages.
I then sewed the top and bottom of the pages using my normal sewing machine and leaving a small gap along one side. I then turned the pages inside out and sewed along the entire outer edge.
Finally, I stacked the pages and sewed several times through the middle to hold it all in place.
It's done! I was really excited to make this so I worked through it really quickly. If I make another, I think it might be fun to add little ribbon "tabs" to each page.
I'm pretty sure my girl is a fan. She started screeching really loudly when she looked at it. Excitement?
I used Spoonflower to create my fabric. If you don't know Spoonflower, you should check out their site. You can get custom-printed fabric. I wanted to go this route rather than printable iron-ons because I was worried about bits flaking off as she chewed on it.
I created the fabric design in photoshop and scaled it to fit a fat quarter (18"x 21"). If you need more info on how to do this, see this post. You can also just look at the picture below to see how everything was laid out. I planned it so the pages going across could fold in half (you'll see what I mean further down.)
Once I ordered my fabric, I checked the mail excitedly for awhile until it came. Yay! Then I got to work.
I started by cutting my images into three strips. I trimmed right to the edge along the top and bottom but left the side edges as they were.
Next, I folded each page in half with the right-sides together. I ironed the fold to hold it in place and then serged the other edge. NOTE: Be careful about this. I wasn't thinking about where my stitches were going to end up and I sewed too far in. It didn't really hurt the project, but when I turned it inside out, the pages on that side were slightly smaller than the other side.
Next, I cut out pieces of fusible fleece that were slightly smaller than the pages. By leaving a gap in the middle of each page spread, I was hoping to reduce bulk at the spine and make the pages easier to turn. I ironed these onto the wrong sides of the pages.
I then sewed the top and bottom of the pages using my normal sewing machine and leaving a small gap along one side. I then turned the pages inside out and sewed along the entire outer edge.
Finally, I stacked the pages and sewed several times through the middle to hold it all in place.
It's done! I was really excited to make this so I worked through it really quickly. If I make another, I think it might be fun to add little ribbon "tabs" to each page.
I'm pretty sure my girl is a fan. She started screeching really loudly when she looked at it. Excitement?
Labels:
Baby,
Fabric,
Photography,
Sewing,
Tutorial
Friday, August 9, 2013
Fabric Pouch Makeover: Two Ways
Does anyone else love the Dollar Spot at Target? Who am I kidding, everyone loves the Dollar Spot. Well, you should go right now because they have some cute little fabric pouches. You could use them as is, but really why not personalize?
The first one I made by simply drawing a design on with a fabric sharpie. I started by sketching out a design in pencil. I chose a Dalek because I'm a Doctor Who fanatic but you can do whatever.
Then I just went over it with my sharpie. After some quick advice on Facebook, I added the word "Consolidate." (It's better if you say it in a Dalek voice.)
For the next bag, I went a little girlier. I started by cutting out a square of fabric and a square of iron on interfacing. Then trace a frame on the paper of the interfacing; I used a circle and then added little bumps all around the edge. Cut out the fabric and iron onto the bag.
To add a silhouette, draw a design on freezer paper. I drew a circle and then found a silhouette image online. If you hold the paper up to the screen, you can trace it. Then cut out the circle and silhouette.
Iron these pieces onto the fabric. Then fill in with black fabric paint. I didn't have any paint so I used a fabric stamp pad. Just use a makeup sponge to fill in the area.
The freezer paper then just peels off. I used my fabric sharpie to add some details to the frame.
So there you go! Two ways to do a pouch. Or just combine them and do a Dalek silhouette...
The first one I made by simply drawing a design on with a fabric sharpie. I started by sketching out a design in pencil. I chose a Dalek because I'm a Doctor Who fanatic but you can do whatever.
Then I just went over it with my sharpie. After some quick advice on Facebook, I added the word "Consolidate." (It's better if you say it in a Dalek voice.)
For the next bag, I went a little girlier. I started by cutting out a square of fabric and a square of iron on interfacing. Then trace a frame on the paper of the interfacing; I used a circle and then added little bumps all around the edge. Cut out the fabric and iron onto the bag.
To add a silhouette, draw a design on freezer paper. I drew a circle and then found a silhouette image online. If you hold the paper up to the screen, you can trace it. Then cut out the circle and silhouette.
Iron these pieces onto the fabric. Then fill in with black fabric paint. I didn't have any paint so I used a fabric stamp pad. Just use a makeup sponge to fill in the area.
The freezer paper then just peels off. I used my fabric sharpie to add some details to the frame.
So there you go! Two ways to do a pouch. Or just combine them and do a Dalek silhouette...
Labels:
Accessories,
Tutorial
Tuesday, July 30, 2013
My Attempt at a Stuffed Sheep
All I can say, is I'm glad my daughter is only 6 months old and doesn't know what a sheep looks like.
The Iron Craft Challenge this week was to make something on the theme of sleep/bed/night. I had some leftover white minky fabric from my taggie toy, so a sheep seemed like the perfect craft. I pictured a lovely stuffed sheep like they used to sell at Bath and Body Works.
Mine did not turn out quite so nicely. I was going to write up a tutorial but I don't think that's going to happen until I fix it a bit. Basically, I used this pattern to make a ball and then added sheep features that I made up.
The end result looks a bit like a cross between a sheep and an armadillo. Hopefully with a little tweaking I can improve with time, at least by the time my girl is old enough to recognize a sheep :)
Want to check out more Iron Craft projects? Visit the flickr group here and the blog here.
The Iron Craft Challenge this week was to make something on the theme of sleep/bed/night. I had some leftover white minky fabric from my taggie toy, so a sheep seemed like the perfect craft. I pictured a lovely stuffed sheep like they used to sell at Bath and Body Works.
![]() |
| These sheep were adorable. I think I could have an entire room full of them. Image source. |
Mine did not turn out quite so nicely. I was going to write up a tutorial but I don't think that's going to happen until I fix it a bit. Basically, I used this pattern to make a ball and then added sheep features that I made up.
The end result looks a bit like a cross between a sheep and an armadillo. Hopefully with a little tweaking I can improve with time, at least by the time my girl is old enough to recognize a sheep :)
Want to check out more Iron Craft projects? Visit the flickr group here and the blog here.
Labels:
Iron Craft Challenge,
Sewing
Tuesday, July 23, 2013
Photo Book for Father's Day
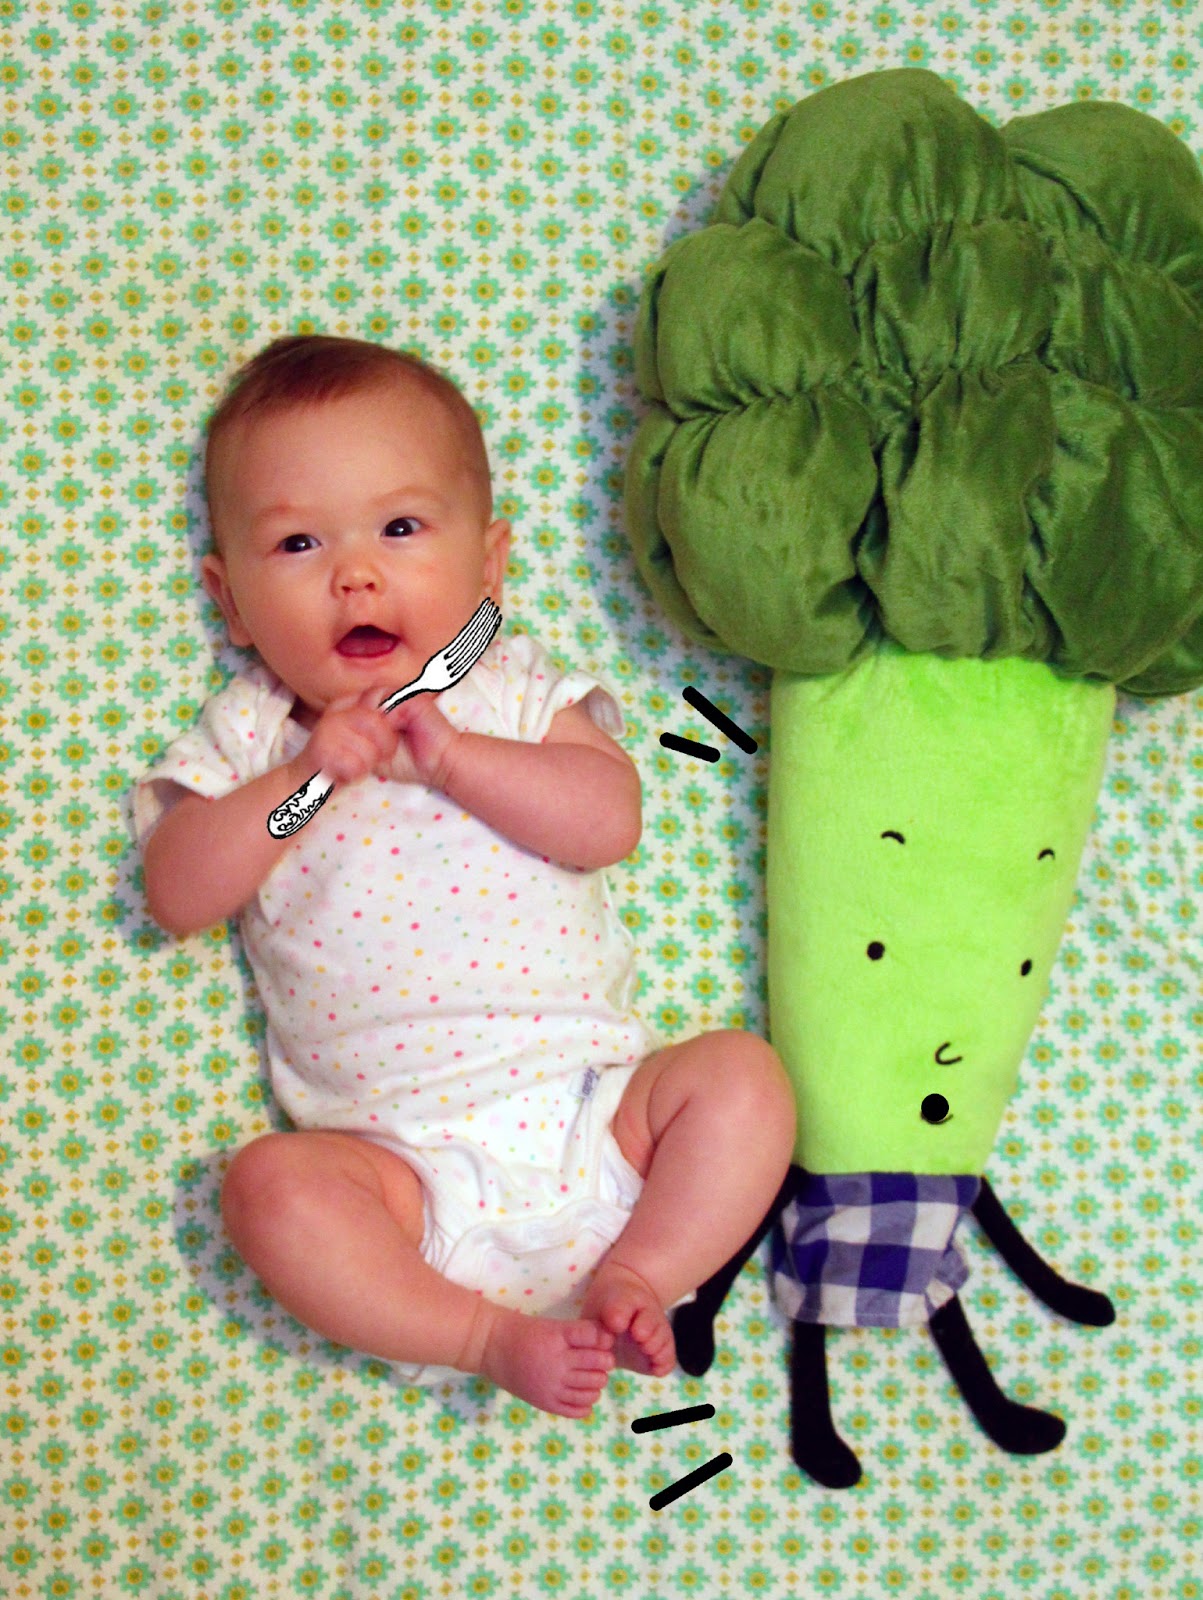
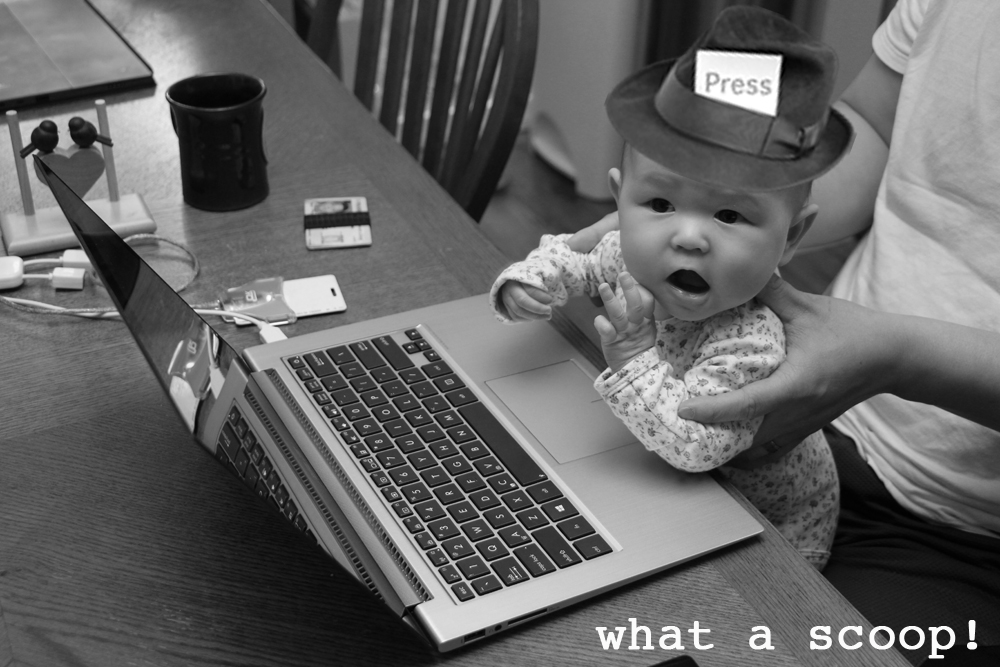
Really, the best gifts are given a month late, right? I finally finished my Father's Day gift for my husband and am now able to share it here. I chose to make him a photo book full of funny, altered pictures of our daughter.
I was inspired by this artist. I had seen some of her fun baby photos and wanted to do something similar. It took a long time but with some simple photo-shopping, I ending up with a book full of unique photos.
Once done, I loaded them all onto Shutterfly and created an album. I went with a simple black background and white text to narrate.
I've shared some of my favorites here. I hope they help inspire you. [and yes, we do make our baby pretend to ride the cat]
I was inspired by this artist. I had seen some of her fun baby photos and wanted to do something similar. It took a long time but with some simple photo-shopping, I ending up with a book full of unique photos.
Once done, I loaded them all onto Shutterfly and created an album. I went with a simple black background and white text to narrate.
I've shared some of my favorites here. I hope they help inspire you. [and yes, we do make our baby pretend to ride the cat]
Labels:
Baby,
gifts,
Photography
Friday, July 19, 2013
Footstool Makeover
I'm addicted to thrift store shopping. I can't help myself. I mean, even if I was just there, there could be something new. Which means that I bring home random items on a regular basis. Recently, I found this little gem:
For $3, it seemed like the perfect project to make over. To make it even easier, the cushion wasn't attached so it easily came apart into two pieces. I started by removing the fabric and giving the wood a light sanding.
Next, I attached new fabric using the existing tacks and spray painting the frame. Finally I attached velcro to both the frame and the cushion to hold it in place. Done!
It makes a great footstool for a regular sized adult...or the perfect seat for a little baby.
For $3, it seemed like the perfect project to make over. To make it even easier, the cushion wasn't attached so it easily came apart into two pieces. I started by removing the fabric and giving the wood a light sanding.
Next, I attached new fabric using the existing tacks and spray painting the frame. Finally I attached velcro to both the frame and the cushion to hold it in place. Done!
It makes a great footstool for a regular sized adult...or the perfect seat for a little baby.
Labels:
Home Decor,
Inspiration,
Thrift Store
Thursday, July 11, 2013
Mini Pudding Pies
I've been making popsicles lately. Today was pudding pop day. Is there anything better than a pudding pop? Well, hopefully. Because this post isn't about pudding pops. It's about what you do with your leftover pudding; mini pudding pies.
See, after I finished my pudding pops, I had leftover pudding. At first I was like, duh, eat it. After a couple of bites though, I decided to be more creative and make mini pies.
I started by smashing up some graham crackers for the crust. I combined this with about a tablespoon of melted butter. Then I got really crazy and added some chopped walnuts. You can follow your heart on this one; I really liked the addition of walnuts but my husband was less of a fan.
Now smush (technical term) the graham cracker-butter concoction into a small dish. I used some creme brulee dishes. Press into the bottom and slowly scoot it up the edges to form a little rim.
Spoon your pudding into the dish. I used two kinds in each and then dragged a chopstick through to make streaks. You can use only one kind if you like. I topped with a walnut.
Stick in the fridge for a few hours and enjoy. Clearly, we enjoyed them.
See, after I finished my pudding pops, I had leftover pudding. At first I was like, duh, eat it. After a couple of bites though, I decided to be more creative and make mini pies.
I started by smashing up some graham crackers for the crust. I combined this with about a tablespoon of melted butter. Then I got really crazy and added some chopped walnuts. You can follow your heart on this one; I really liked the addition of walnuts but my husband was less of a fan.
Now smush (technical term) the graham cracker-butter concoction into a small dish. I used some creme brulee dishes. Press into the bottom and slowly scoot it up the edges to form a little rim.
Spoon your pudding into the dish. I used two kinds in each and then dragged a chopstick through to make streaks. You can use only one kind if you like. I topped with a walnut.
Stick in the fridge for a few hours and enjoy. Clearly, we enjoyed them.
Subscribe to:
Posts (Atom)