Some friends of ours recently bought a house and we wanted to give them a little present to celebrate. I had seen some housewarming gift baskets on other sites before and wanted to try making my own.
My husband made this adorable little basket out of cardboard and we filled it with some things we thought would be helpful for the move: cute sponges, picture hangers, command hooks, Magic Erasers, Goo Gone, kleenex, a scented candle, and some basil-scented dish soap (this stuff smells amazing!).
In addition, I made a little embroidery piece for them that said "Home Sweet Home." I stitched the words onto a piece of vintage sheet and glued the final product onto a small canvas.
Showing posts with label gifts. Show all posts
Friday, September 27, 2013
Tuesday, July 23, 2013
Photo Book for Father's Day
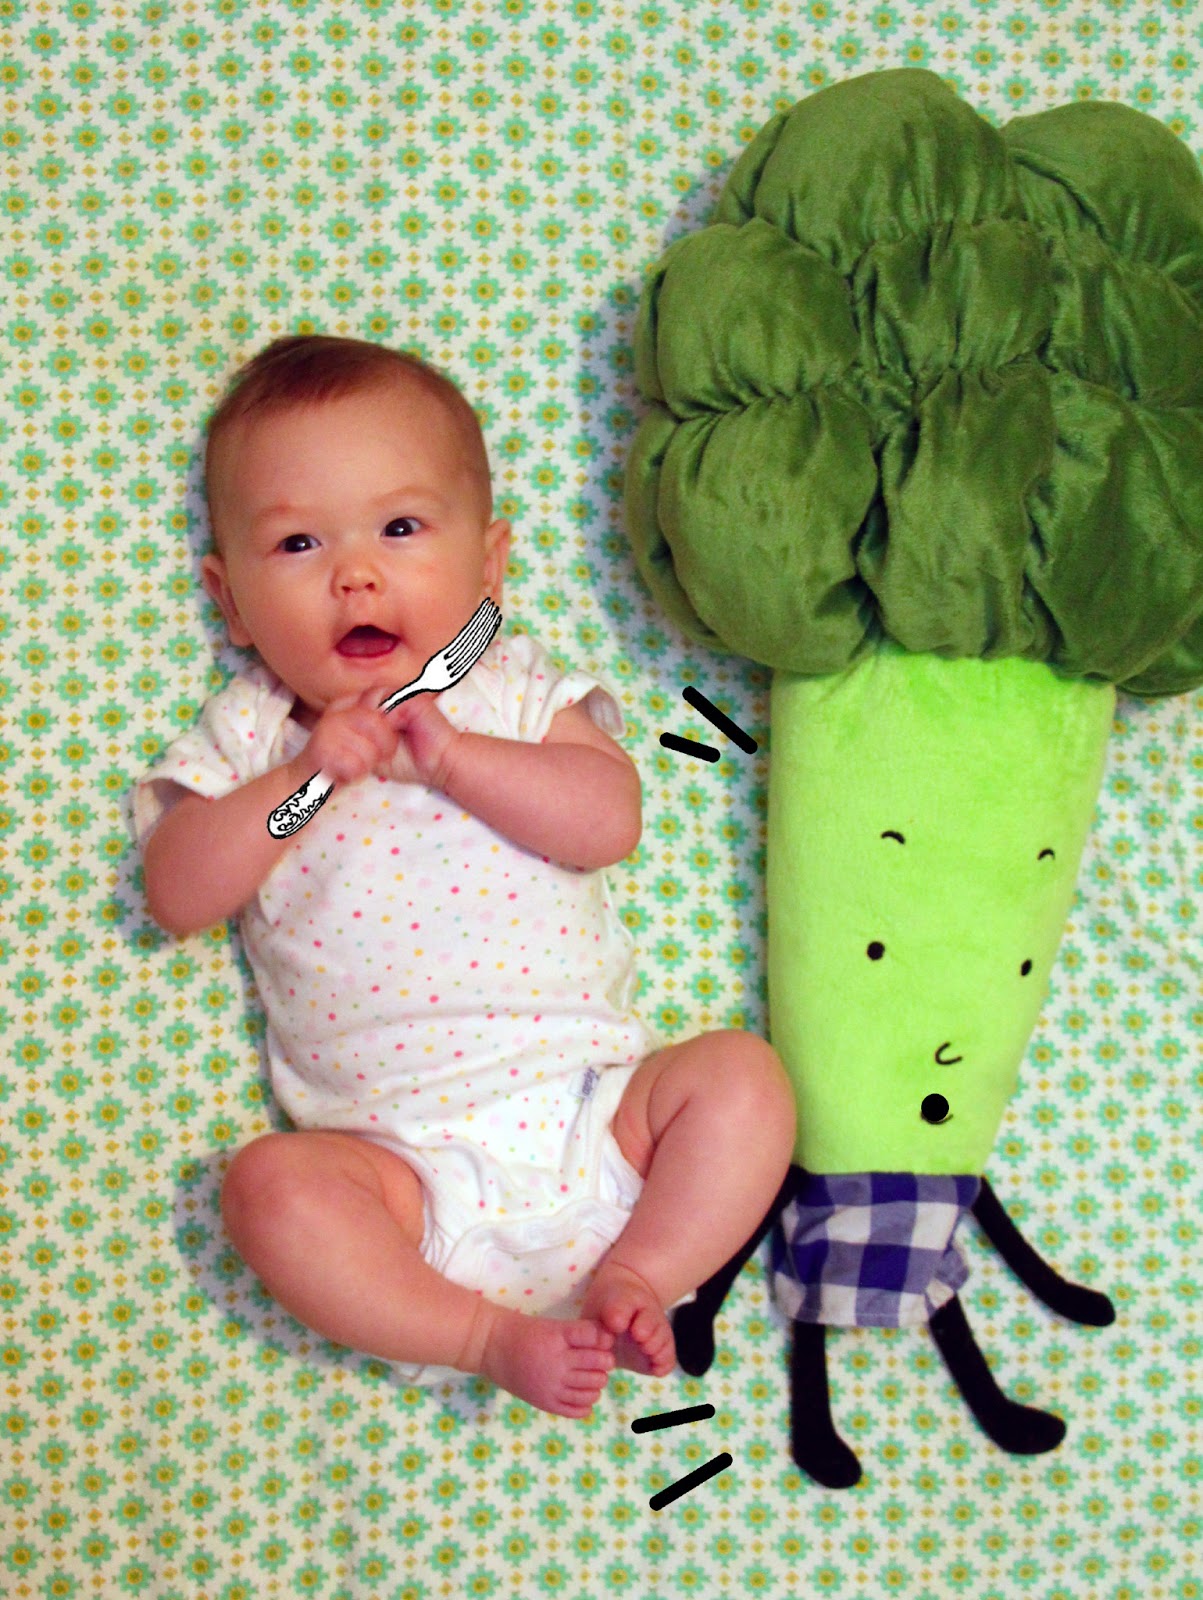
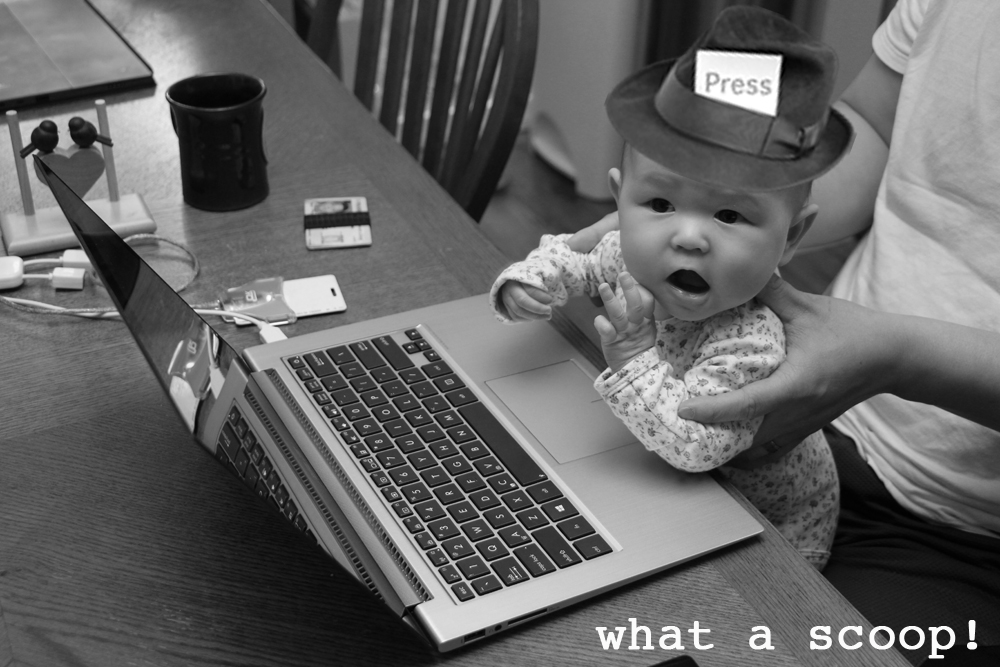
Really, the best gifts are given a month late, right? I finally finished my Father's Day gift for my husband and am now able to share it here. I chose to make him a photo book full of funny, altered pictures of our daughter.
I was inspired by this artist. I had seen some of her fun baby photos and wanted to do something similar. It took a long time but with some simple photo-shopping, I ending up with a book full of unique photos.
Once done, I loaded them all onto Shutterfly and created an album. I went with a simple black background and white text to narrate.
I've shared some of my favorites here. I hope they help inspire you. [and yes, we do make our baby pretend to ride the cat]
I was inspired by this artist. I had seen some of her fun baby photos and wanted to do something similar. It took a long time but with some simple photo-shopping, I ending up with a book full of unique photos.
Once done, I loaded them all onto Shutterfly and created an album. I went with a simple black background and white text to narrate.
I've shared some of my favorites here. I hope they help inspire you. [and yes, we do make our baby pretend to ride the cat]
Labels:
Baby,
gifts,
Photography
Tuesday, May 7, 2013
Bias Tape Daffodils: A Mothers Day Bouquet
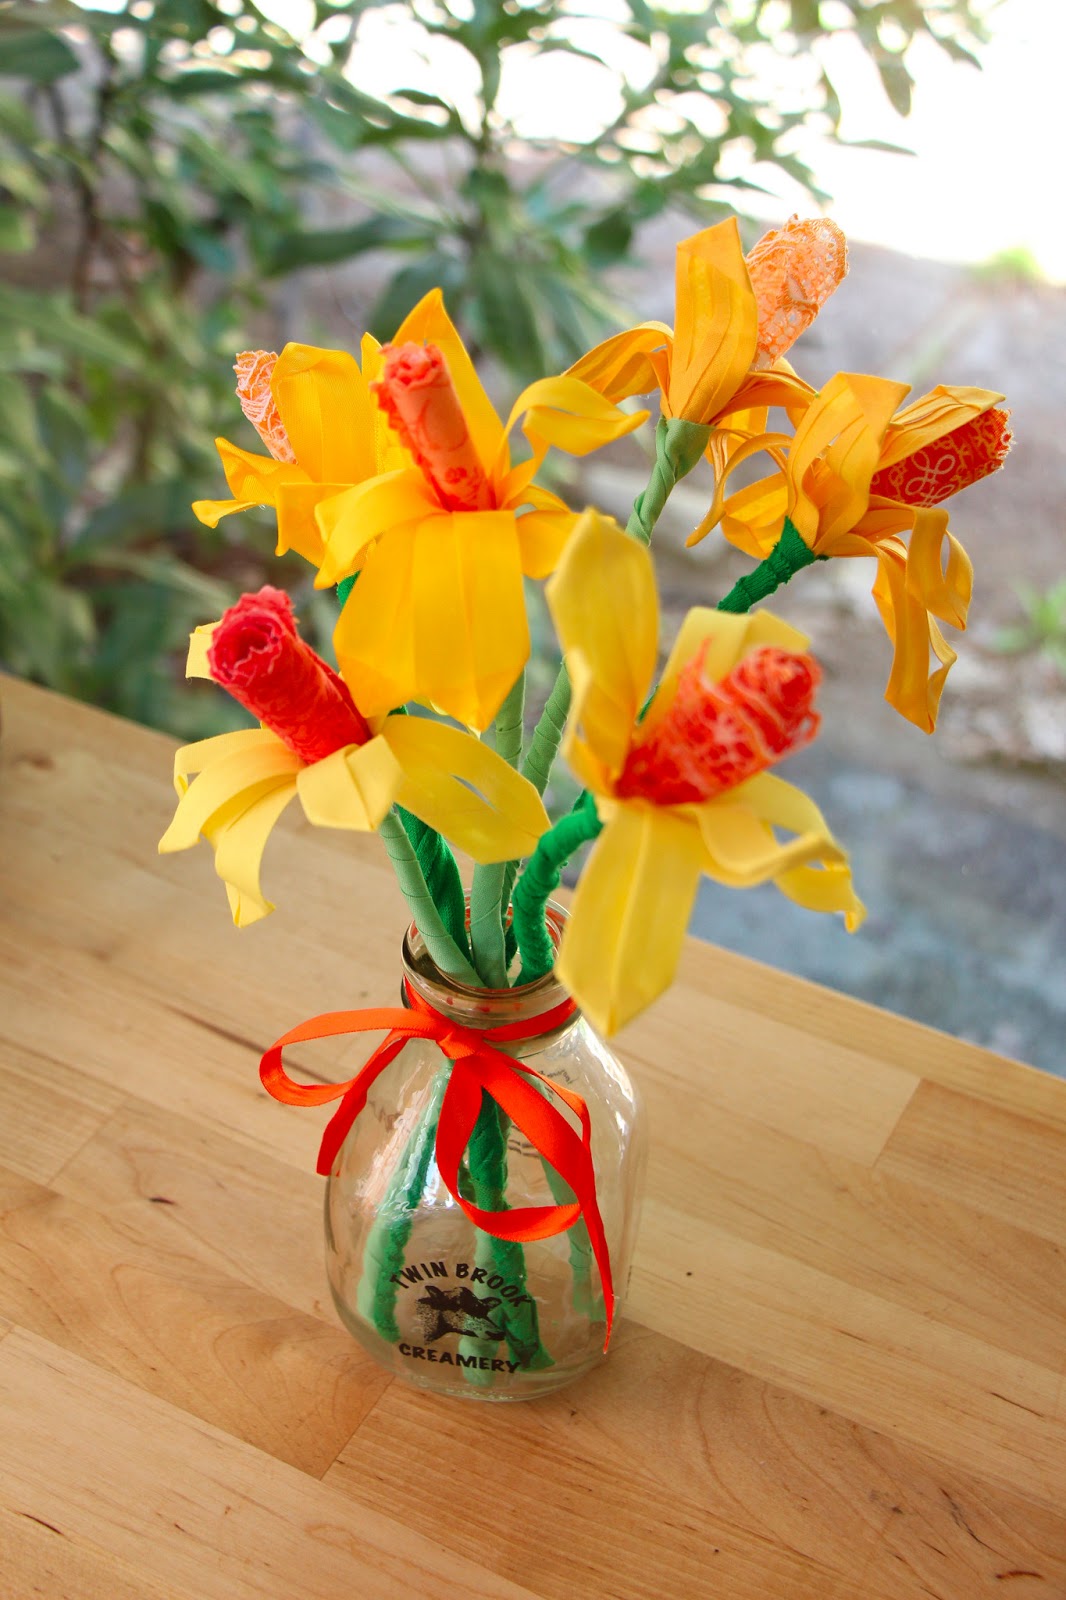
Big news guys. I've started participating in Iron Craft again. This is my first week back and I'm pumped. This week we were challenged to create something using sewing notions. I made daffodils. Since my mom lives far away, I gave these to myself :) It is my first Mothers Day after all.
Start by gathering some supplies. Feel free to experiment a little based on the supplies you already have. I'm kind of a craft hoarder and always buy those bags of random sewing notions that they sell at Goodwill so I had a stash. Here is basically what you need:
-For the petals: yellow bias tape.
-For the middle part: orange fabric, lace trim
-For the stem: wire and green fabric or green bias tape
-A hot glue gun
Start by cutting a section of wire that will be your stem. I used some really thick wire that I found at the hardware store. This will form the base of your flower. You will then form the orange part on one end [apparently that part is called the corona].
I formed the orange section two different ways. The first was using some lace trim I had on hand. Although it had some orange on it, I colored it in to brighten it up. Again, you can do this two ways: fabric paint or fabric marker.
The other way to make the center is with fabric. I cut a square of orange fabric using pinking shears and then folded it in half.
With both of these, roll them around the edge of the wire, hot-gluing as you go. This will form a nice tube of orange.
To make the petals, cut several small strips of bias tape, about 5" each. Then fold as shown below. Hot glue the folded section and the two ends together.
Next glue the petals around your flower. I liked the way they flopped about; it looked realistic. If you need a petal to stick up a bit more, just glue the petal a little further up.
Finally, use some green fabric or bias tape to wrap the stem. Make sure to cover the edges of your petals at the top to keep things looking tidy.
That's it! You can make a whole bouquet. I had fun trying out different materials and ways of doing it. If you make your own, I would love to see what you try out!
Want to check out more Iron Craft projects? Visit the flickr group here and the blog here.
Start by gathering some supplies. Feel free to experiment a little based on the supplies you already have. I'm kind of a craft hoarder and always buy those bags of random sewing notions that they sell at Goodwill so I had a stash. Here is basically what you need:
-For the petals: yellow bias tape.
-For the middle part: orange fabric, lace trim
-For the stem: wire and green fabric or green bias tape
-A hot glue gun
Start by cutting a section of wire that will be your stem. I used some really thick wire that I found at the hardware store. This will form the base of your flower. You will then form the orange part on one end [apparently that part is called the corona].
I formed the orange section two different ways. The first was using some lace trim I had on hand. Although it had some orange on it, I colored it in to brighten it up. Again, you can do this two ways: fabric paint or fabric marker.
The other way to make the center is with fabric. I cut a square of orange fabric using pinking shears and then folded it in half.
With both of these, roll them around the edge of the wire, hot-gluing as you go. This will form a nice tube of orange.
To make the petals, cut several small strips of bias tape, about 5" each. Then fold as shown below. Hot glue the folded section and the two ends together.
Next glue the petals around your flower. I liked the way they flopped about; it looked realistic. If you need a petal to stick up a bit more, just glue the petal a little further up.
Finally, use some green fabric or bias tape to wrap the stem. Make sure to cover the edges of your petals at the top to keep things looking tidy.
That's it! You can make a whole bouquet. I had fun trying out different materials and ways of doing it. If you make your own, I would love to see what you try out!
Want to check out more Iron Craft projects? Visit the flickr group here and the blog here.
Labels:
flowers,
gifts,
Home Decor,
Iron Craft Challenge,
Tutorial
Tuesday, December 18, 2012
Handmade Christmas Gifts
Christmas is a week away. Can you believe it? Here's a little peek at some of the gifts I have made.
For my nieces, I used this pattern to make little dolls. I used vintage sheets for their dresses and various patterned fabrics to match their hair. One of these shown here is going to be for my little girl and a blond one is on her way to Kansas :)
For my mom, I made her this embroidery piece. In case you can't see it well, it says, "The best moms get promoted to grandma." I had seen this phrase before on something and thought it was so cute.
What gifts have you been working on?
For my nieces, I used this pattern to make little dolls. I used vintage sheets for their dresses and various patterned fabrics to match their hair. One of these shown here is going to be for my little girl and a blond one is on her way to Kansas :)
For my mom, I made her this embroidery piece. In case you can't see it well, it says, "The best moms get promoted to grandma." I had seen this phrase before on something and thought it was so cute.
What gifts have you been working on?
Wednesday, November 14, 2012
Wooden Toddler Locket Tutorial
One of my favorite little girls just turned two the other day so I wanted to make her a very special birthday present. She LOVES playing with my necklaces, particularly my locket. Whenever she sees me wearing it, she says, "Open! Open!" I thought it would be nice to make her her own little locket. This is what I came up with.
I spent quite a bit of time brainstorming on how to make this kid safe. I even enlisted some help from my husband. We started by taking a wooden heart and a wooden circle and drilling a hole partway though the middle of each piece. I then glued a magnet into the center (NOTE: use a strong magnet!) This will hold the two pieces together but allow for them to be easily "opened" by little hands. You should also drill a hole on the top to tie the ribbon on.
Next, I printed out a picture of her mom and dad as well as a picture of her and her little brother. I used Mod Podge to glue the pictures onto the wooden pieces, over the magnets. Notice how I cut one picture to fit behind the heart.
Once this was dry, I painted the rest of the wooden pieces around the pictures. Next, I used more paint to decorate the front of the heart.
Finally, I sealed the whole piece with Mod Podge. Once dry, I tied a long piece of ribbon on that can easily be slipped over her head.
That's it! She liked it a lot. I told you to use a strong magnet because mine wasn't quite strong enough and the front heart tended to fall off when she was playing.
I spent quite a bit of time brainstorming on how to make this kid safe. I even enlisted some help from my husband. We started by taking a wooden heart and a wooden circle and drilling a hole partway though the middle of each piece. I then glued a magnet into the center (NOTE: use a strong magnet!) This will hold the two pieces together but allow for them to be easily "opened" by little hands. You should also drill a hole on the top to tie the ribbon on.
Next, I printed out a picture of her mom and dad as well as a picture of her and her little brother. I used Mod Podge to glue the pictures onto the wooden pieces, over the magnets. Notice how I cut one picture to fit behind the heart.
Once this was dry, I painted the rest of the wooden pieces around the pictures. Next, I used more paint to decorate the front of the heart.
Finally, I sealed the whole piece with Mod Podge. Once dry, I tied a long piece of ribbon on that can easily be slipped over her head.
That's it! She liked it a lot. I told you to use a strong magnet because mine wasn't quite strong enough and the front heart tended to fall off when she was playing.
Thursday, August 23, 2012
Easy Anniversary Gift: Custom Mug
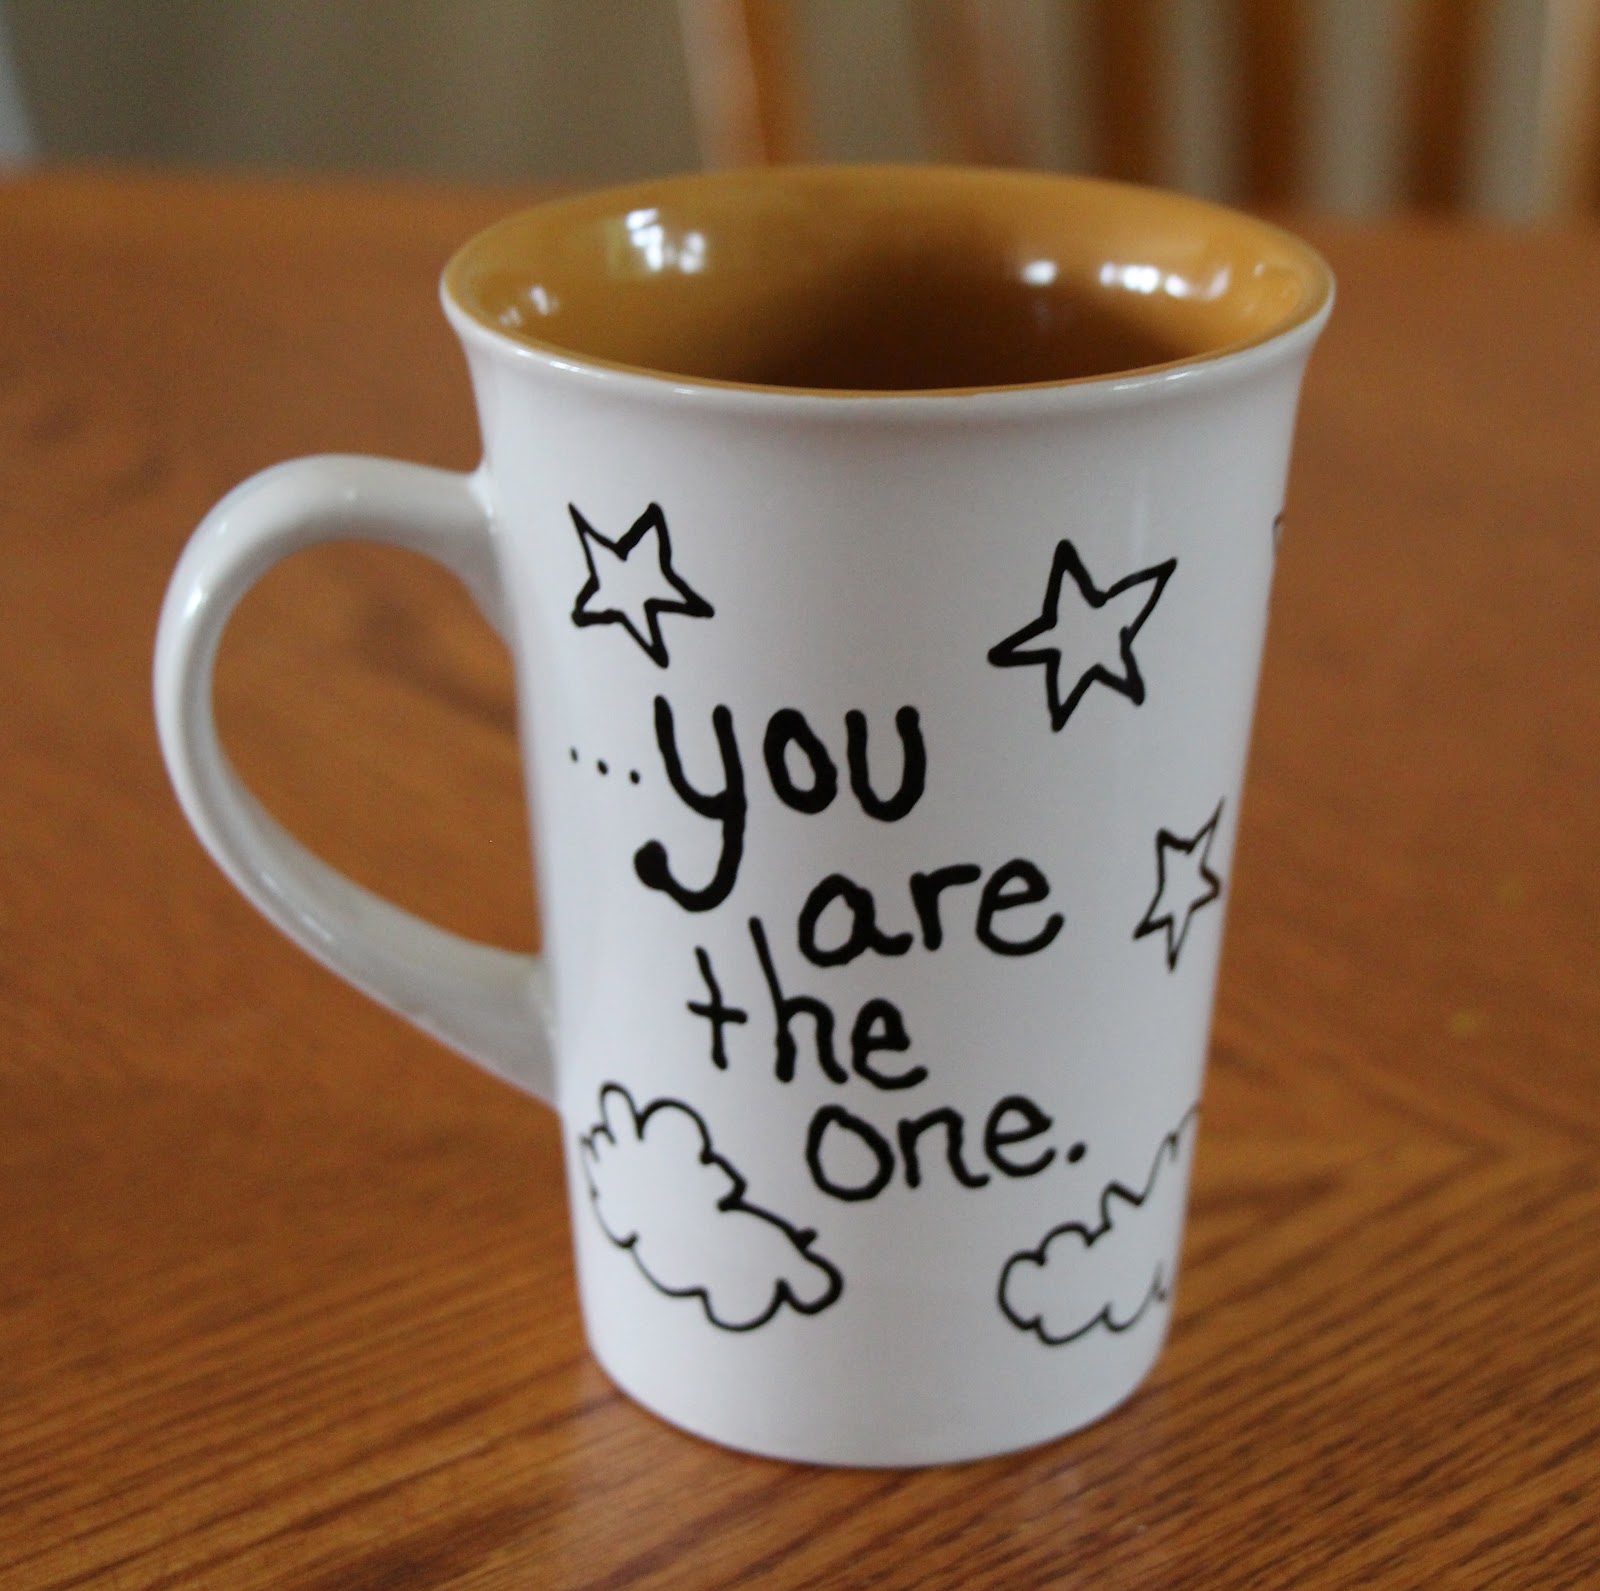
As I mentioned, Tuesday was Eugene and I's two year anniversary. We decided to keep gifts simple this year since we have a lot going on with the move and the baby. Here's what I whipped up:
I found a plain mug from Goodwill and then drew on it with a special ceramic paint pen. I chose to do the lyrics from our first dance song.
Once dry, I baked it in the oven according the the directions on the pen. Now it is dishwasher safe!
I didn't realize I was doing it at the time, but this is actually a perfect gift for the 2 year anniversary. While the traditional gift is cotton, the modern gift is china. A mug counts as china, right?
I found a plain mug from Goodwill and then drew on it with a special ceramic paint pen. I chose to do the lyrics from our first dance song.
Once dry, I baked it in the oven according the the directions on the pen. Now it is dishwasher safe!
I didn't realize I was doing it at the time, but this is actually a perfect gift for the 2 year anniversary. While the traditional gift is cotton, the modern gift is china. A mug counts as china, right?
Thursday, June 14, 2012
Father's Day Present- From Baby
Here's a quick and adorable Father's Day present you can make for all the new dads in your life. A little "I Love Daddy" onesie.
All you need is a plain onesie and some fabric markers. I found my onesie at a thrift store. For the markers, I used my new Sharpie Stained markers.
To prevent bleeding through, place a book or something inside the onesie. Start by drawing a heart on one corner of the onesie. Fill it in.
Now trace your heart and add in your words. I kept my design simple, but you could always add more or use different colors.
All you need is a plain onesie and some fabric markers. I found my onesie at a thrift store. For the markers, I used my new Sharpie Stained markers.
To prevent bleeding through, place a book or something inside the onesie. Start by drawing a heart on one corner of the onesie. Fill it in.
Now trace your heart and add in your words. I kept my design simple, but you could always add more or use different colors.
Tuesday, June 12, 2012
Father's Day Craft Roundup
Don't forget, Father's Day is this weekend! Here are some great crafts to make for the dads or other special men in your life :)
![]() |
| Folded Shirt Card from Martha Stewart |
![]() |
| Nuts and Bolts Frame from Kaboose |
![]() |
| Daddy and Me Mug from Kaboose |
![]() |
| Superhero Dad Kit by Oh Happy Day |
![]() |
| What a Catch Treat Can by Lil Luna |
![]() |
| Baseball Bookends from Mod Podge Rocks |
![]() |
| Tiny Toolbox from AlphaMom |
Tuesday, May 22, 2012
IC#10-Lavender Sachet and Bath Salts Set
Iron Craft challenged us to create a stitched project. I chose to stitch up a little gift for my mom for Mother's Day! I know Mother's Day was two weeks ago, but I didn't see my mom until this past weekend so we had a late Mother's Day. My mom loves old fashioned, floral things, so I thought a little gift set would be perfect for her.
I started with some fabric scraps that I got from my recent craft supply swap. I started by stitching a heart onto one of the pieces. I tried to make it look "scribbly."
Next, I stitched along the outside leaving a bit open. I turned it inside out and filled it with lavender. I then stitched along the outside edge one more time. This was challenging because the lavender kept getting in the way; I won't do it this way again :)
Next, I filled a mason jar with some bath salts (store bought) and added a piece of fabric to the top. Finally, I added a label to the jar.
That's it! This was a quick, easy project but turned out quite cute. I think my mom really liked it :)
Want to see more Iron Craft pieces? Check out the flickr group here. Want to join in the fun? Check out the blog here.
I started with some fabric scraps that I got from my recent craft supply swap. I started by stitching a heart onto one of the pieces. I tried to make it look "scribbly."
Next, I stitched along the outside leaving a bit open. I turned it inside out and filled it with lavender. I then stitched along the outside edge one more time. This was challenging because the lavender kept getting in the way; I won't do it this way again :)
Next, I filled a mason jar with some bath salts (store bought) and added a piece of fabric to the top. Finally, I added a label to the jar.
That's it! This was a quick, easy project but turned out quite cute. I think my mom really liked it :)
Want to see more Iron Craft pieces? Check out the flickr group here. Want to join in the fun? Check out the blog here.
Labels:
gifts,
Iron Craft Challenge
Subscribe to:
Posts (Atom)