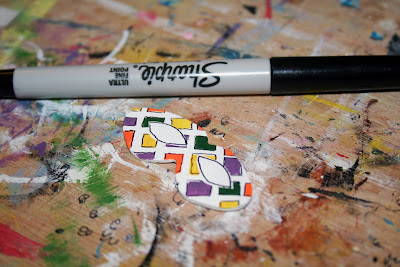
I started with a small piece of craft wood. I first sketched the shape of a mask with pencil. Then I cut it out with a craft knife. I also used a small pin to poke two holes along the top edges.
Next I gave it a light sanding and painted it white using acrylic paint.
Now cut two ovals out of painters tape and place them on the mask to form eye-holes.
Now you will need to cut out several thin strips of tape. The way I did this was to stick a piece of painters tape to a cutting mat and then use a rotary cutter and a ruler to slice even strips. Place them on the mask in a diagonal criss-cross.
Choose your paint colors and start filling in the spaces on your mask. I used acrylic paint in orange, yellow, green, and purple.
Once dry, remove the paint and touch up any mistakes. I had to add some white where the colors leaked under the tape.
I thought it looked a bit plain so next I used a thin black sharpie to outline the eyes and each patch of color.
Finally, coat the whole thing in varnish to protect it. Once dry, use jump rings to attach a chain to the two holes you made previously. Attach a clasp and you're done!


I really like your whole job you have done here! I will be back for more interesting stuff!
ReplyDeleteThis is such a fun jewelry idea! Thanks for the great tutorial.
ReplyDeleteYou did a great job with this. The black outlines really finish it off!
ReplyDeleteThis is a great idea and solution to the problem!
ReplyDeleteawesome idea!
ReplyDeleteneat! I love it! I was just thinking about masking off in my journal, and getting that crosshatch effect. The black outline really helps! {:-D
ReplyDelete