As I mentioned
yesterday, my
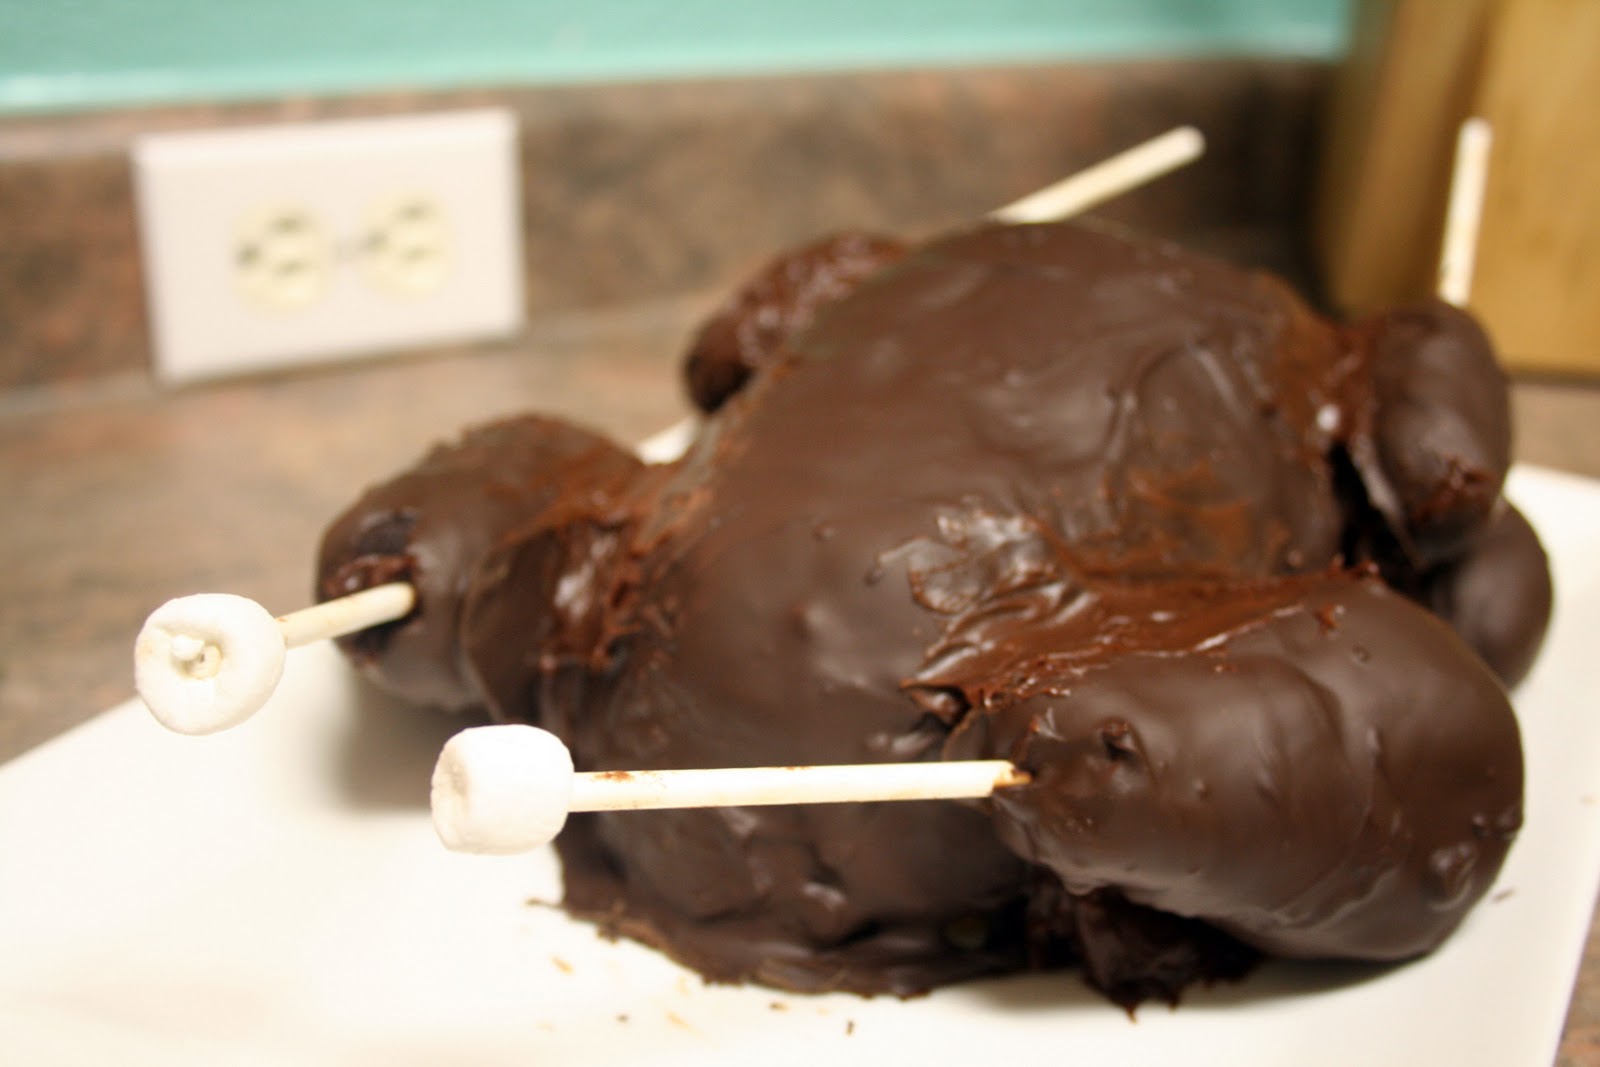
Iron Craft Project was not complete yet. We worked long into the night, but it is now complete. I present you with a giant cake pop turkey.
The idea went something like this. "We should make cake pops." "We should make them for Thanksgiving." "Let's make a giant cake pop shaped like a turkey." Conclusion: my husband and I are weird.
This was our first time making cake pops, but I knew the basic concept. We started by baking two different cakes, chocolate and vanilla (for dark and light meat).
Next, we dived in and started crumbling the cake up. I went straight in with my hands. Once it was crumbled, I added in about 2/3 a can of frosting and worked it into a nice dough.
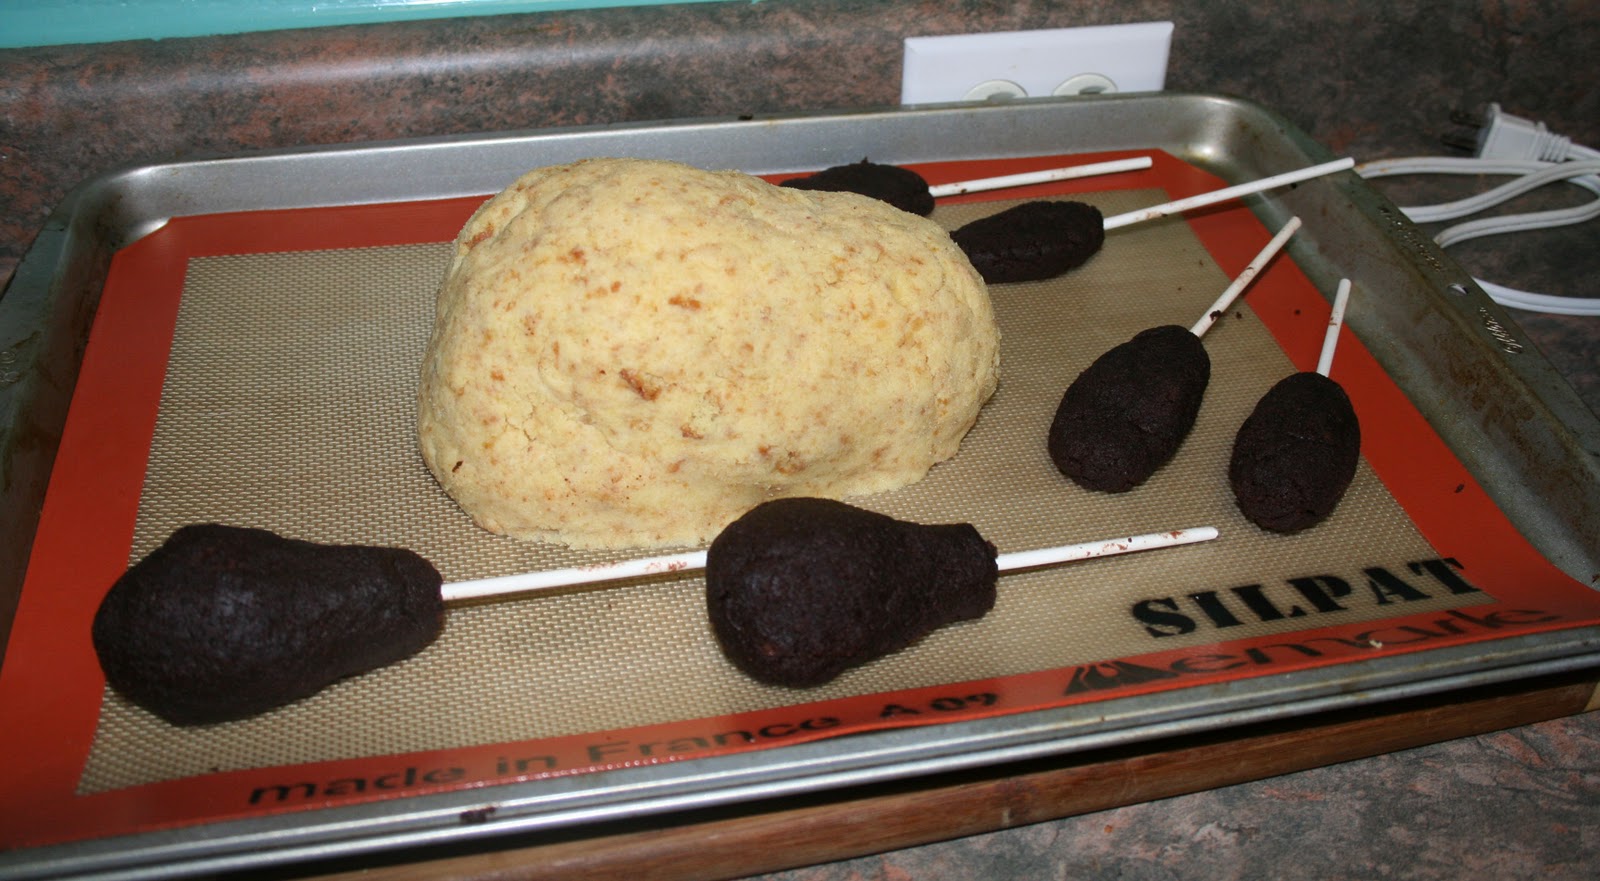
For the body of the turkey, I just took the entire blob of vanilla and molded it into a turkey shape. For the drumsticks and wings, I molded smaller shapes and stuck sticks in them. It was a little weird putting sticks in the wings but it will make it slightly easier to eat.
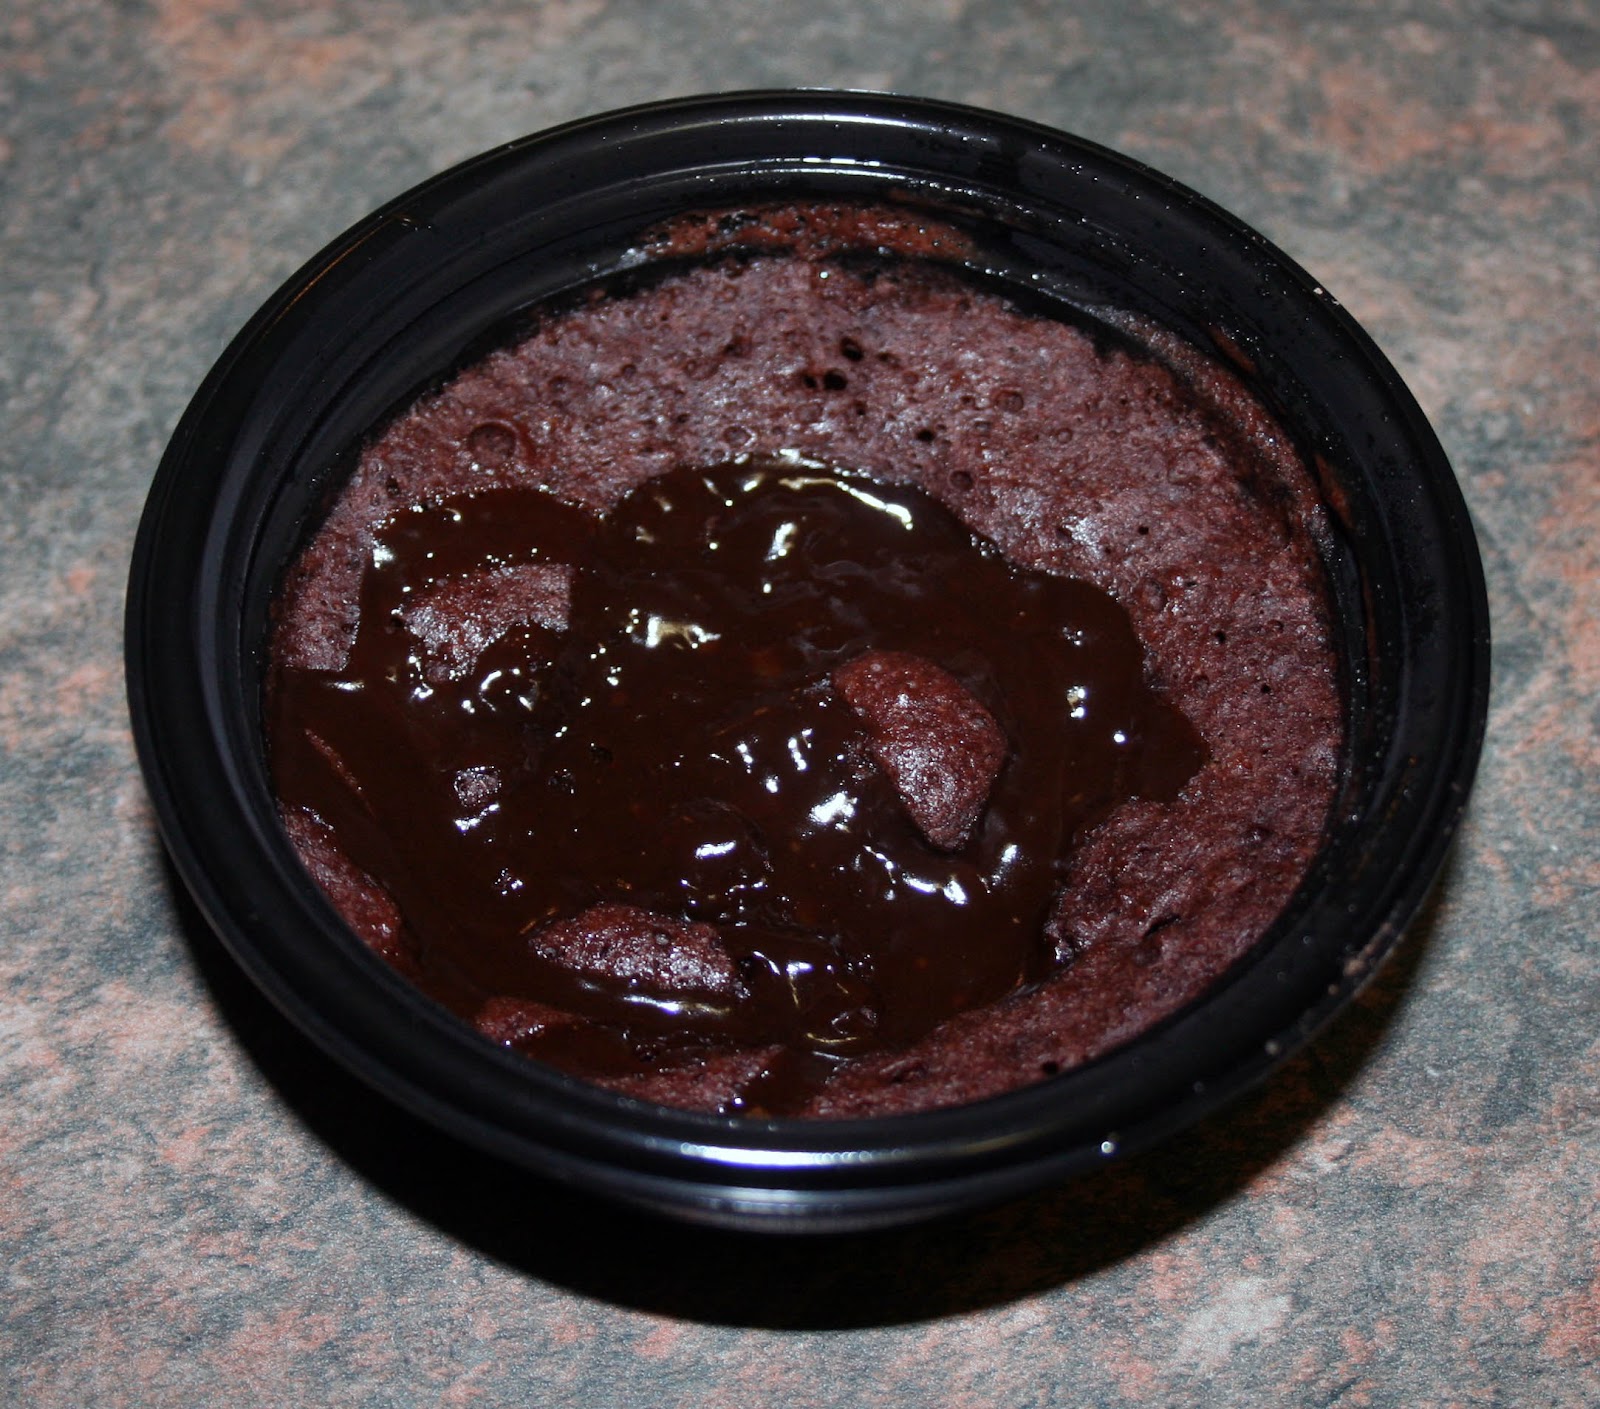
Now it was time for chocolate. We used bakers chocolate. I've heard people mention using those candy melts as well, but I don't have the experience to compare. For the drumsticks and wings, I was able to dip it in and roll around. Since the appendages were pretty heavy, I used a spoon to help pour chocolate over and cover it.
For the body, I just poured a bowl of melted chocolate over the top and used a spoon to help spread it around. Be sure to do this on a non-stick surface and not your final serving platter. The chocolate really pools at the bottom so later you will trim the excess and move it.
Once the chocolate has set (the fridge really speeds this up), you are ready to assemble your turkey. To move the body, find a partner. My husband lifter the entire silpat we were using and slowly peeled one edge down. I then put a spatula under that end and we slowly moved it onto the plate. We were out of chocolate so I used frosting to attach the limbs. Just blob a bunch on there and press the pieces on. I recommend using a utensil to push them on because your fingers will melt into the chocolate.
To finish, we cleaned up the edges where the frosting was and added little marshmallows to the ends of the drumsticks. Done!