

Step 1: Find a pencil you like and start cutting it into pieces. I went with a traditional yellow pencil, but you could get crazy and use a green one or something (green-whooooaaa). To cut it, I used a miter box and cut pieces about 1/2" long. Keep going until you have slice up your entire pencil; even if you decide not to use all the pieces, it's good to have extra in case you mess one up.


Step 2: Drill holes in each piece. This is the really tricky part. I used a clamp to hold the piece and then drilled through with a power drill. The hard part was getting the drill to go straight down. My husband was a pro at this but I tended to drill slanty. Just go slow and don't worry if you mess up. You could always use pieces from several different pencils in order to do a whole necklace. When you drill through the sharpened end and the eraser end, start on the pencil side and drill towards the point or eraser. It should go through fine.


Step 3: Sand and choose pieces. Your pieces will be a little rough on the edges so rub them on some sandpaper to give them a smooth edge. You will also want to lay out your pieces to visualize the necklace; I didn't use a couple of pieces that were not so pretty and to make the pencil a little shorter.

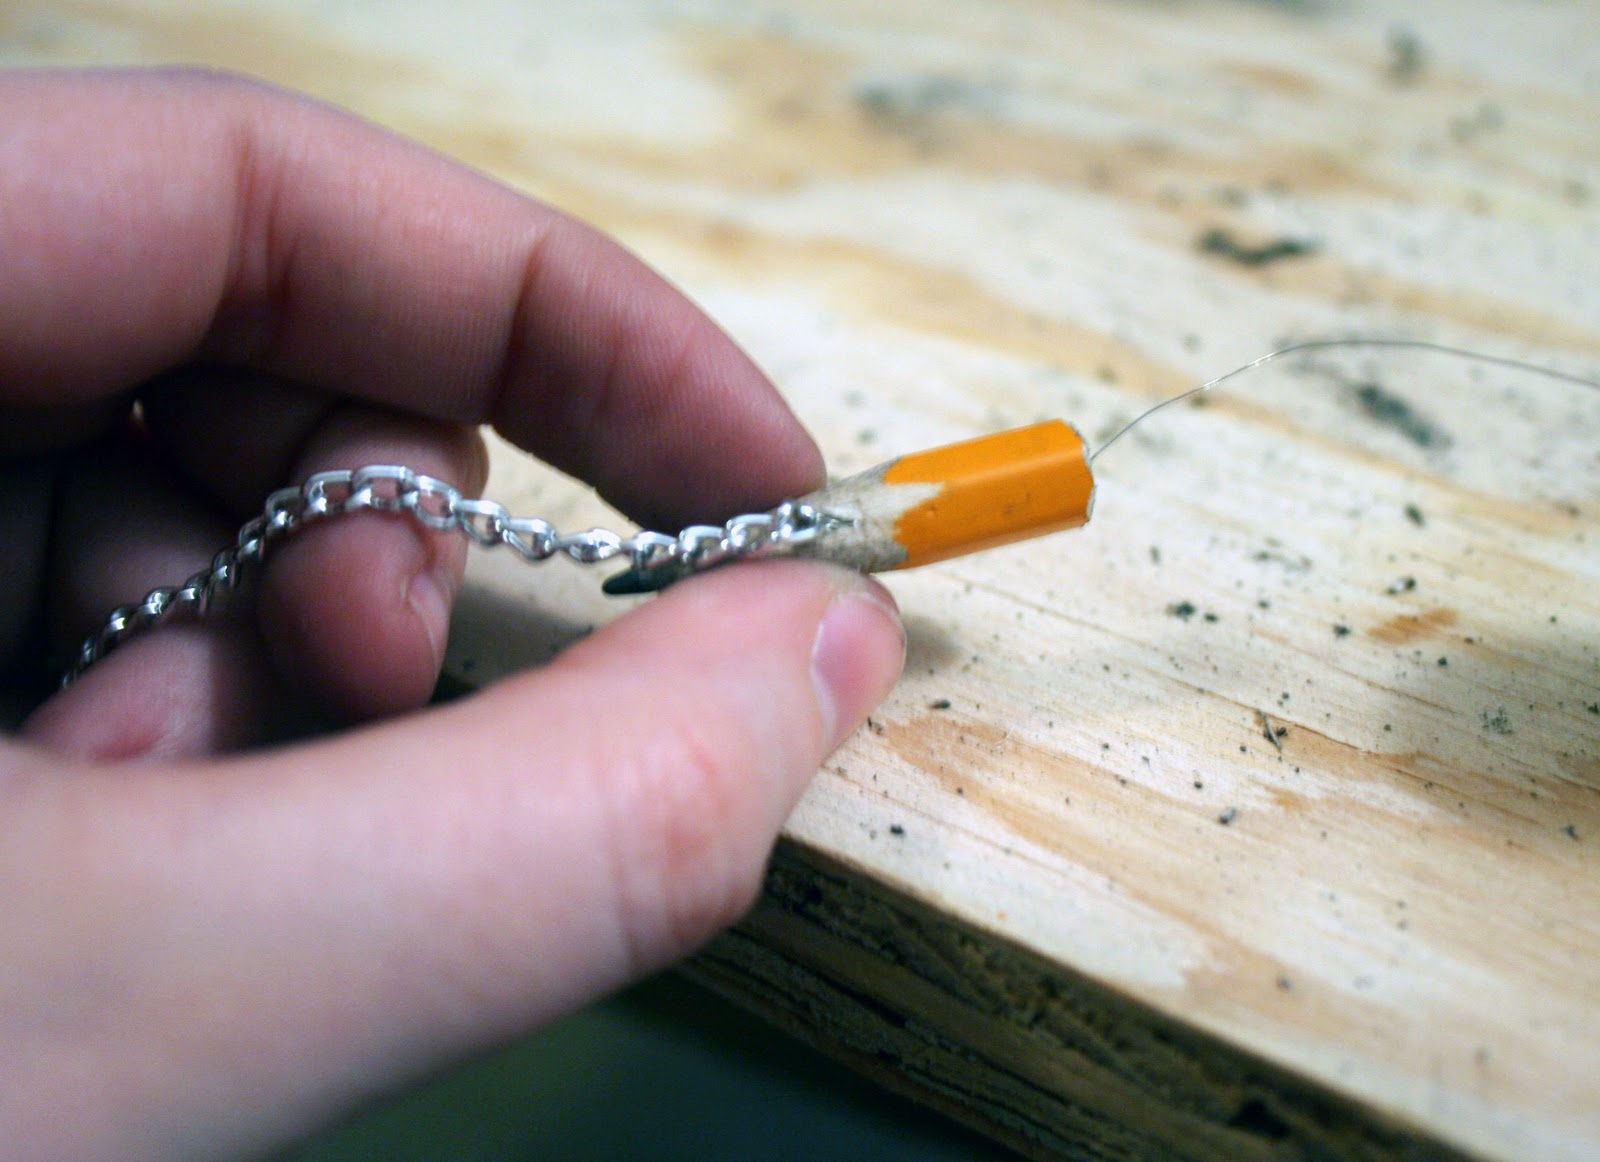
Step 4: Thread pieces onto wire and attach to chain. I started by attaching a piece of wire onto a length of chain using a crimp bead. Thread the crimp bead onto the wire, run it through the chain, and back through the crimp bead. Then squeeze it with pliers to close over the wire and hold it in place.


Step 5: String pencil pieces. Start threading your pencil pieces onto the wire. If you can, push the crimp bead into the pencil to hide it and make it look like the chain is coming straight out of the pencil. Continue to add pencil pieces until they are all on and then attach a chain on the other side just like you did on the first. Cut the chain to the length you want and add a clasp.


Step 6: Look fabulous. Wear your necklace and show off how awesome you look. DONE!

You come up with so many unique projects...I love it!
ReplyDeleteAnd you get to use fun power tools :)
that is so adorable! Very creative! {:-D
ReplyDeleteWhat a fun project! Thanks for sharing.
ReplyDeleteThis would make a great teacher gift.